Creating and Using Backups in RONIN
A snapshot is more than just a backup. In fact, it's a backup that replicates itself across three physical locations. And they're remarkably cheap, compared to any other storage, making it a great way to reduce your project's expenditure.

Think of a package as a complete backup of a storage unit, captured at a specific moment in time. It's essentially an Amazon Web Services (AWS) Amazon Machine Image (AMI), giving you a consistent and reliable starting point.
For instance, imagine you've just uploaded a significant amount of data to an SSD in RONIN. You're keen to start experimenting with this data, but there's always that worry you might accidentally alter or delete something important. Creating a package of your data is the perfect solution. It lets you "go back in time" to when everything was perfectly set up, giving you the freedom to experiment without fear.
A package isn't just a simple snapshot; it's much more robust. The data within a package is actually saved in Object Storage. This means your data is automatically replicated across three distinct physical locations, ensuring incredible durability. Plus, it's remarkably cost-effective, making it a fantastic way to minimize your project's expenses.
Here's a clever trick to save even more: simply package your storage drive, then delete the drive when you're not actively using it. When you're ready to get back to work, just create a new storage drive from that package! Repeat this process, and you'll see significant savings.
How Do Packages Differ from Traditional Backups?
Let's consider Jose, who has some critical data he wants to back up multiple times in case his experiments don't go as planned. Here's how traditional folder storage would handle this:
Jose would copy his valuable data into a new folder to create a backup. Every time he modifies some of that data, he'd need to back up everything again to keep it safe. This results in three very similar copies of Jose's data occupying storage. With any storage solution, you pay for the total amount stored. This means the team would be paying for three identical copies of Jose's data, even if the differences between the files are minor each time.
Now, imagine Jose backing up his results every hour. The more copies he makes, the more he pays for storage.
This is where packages offer a significant advantage:
Instead of copying Jose's entire data set multiple times, only his changes are backed up. This means Jose can restore all his data to any previous point in time without having to store multiple identical copies. He only pays for the storage of his original data and each of his changes once!
Let's Get Started!
Please note that in RONIN, "snapshots" are now called packages, and "volumes" are now called drives. The process, however, remains the same.
To access the packages modal, navigate to the Machine Summary page.
- Select the Settings tab on the machine you want to package.
- Click Manage Package.
You'll then see the Packages Modal!
Creating a Package from a Storage Drive
- Step 1: Give your package a descriptive name.
- Step 2: Click Package.
You can also package drives directly from the Storage screen! Just click the Camera icon for the drive you want to back up.
Your new package will appear in the Projects tab.
Creating a Storage Drive from a Package
- Step 1: Click Create Drive.
- Step 2: Enter the details for your new drive.
To create a drive, you'll need:
- Drive Name: A name to easily identify your drive.
- Type: The type of storage you require.
- Size: How large you want the storage to be.
- Note: The size cannot be smaller than it was when it was first packaged, but you can make it larger if needed!
- Step 3: Click Submit.
Your new drive will appear in the Project Drives tab, within the Storage Modal and on the Storage Summary page.
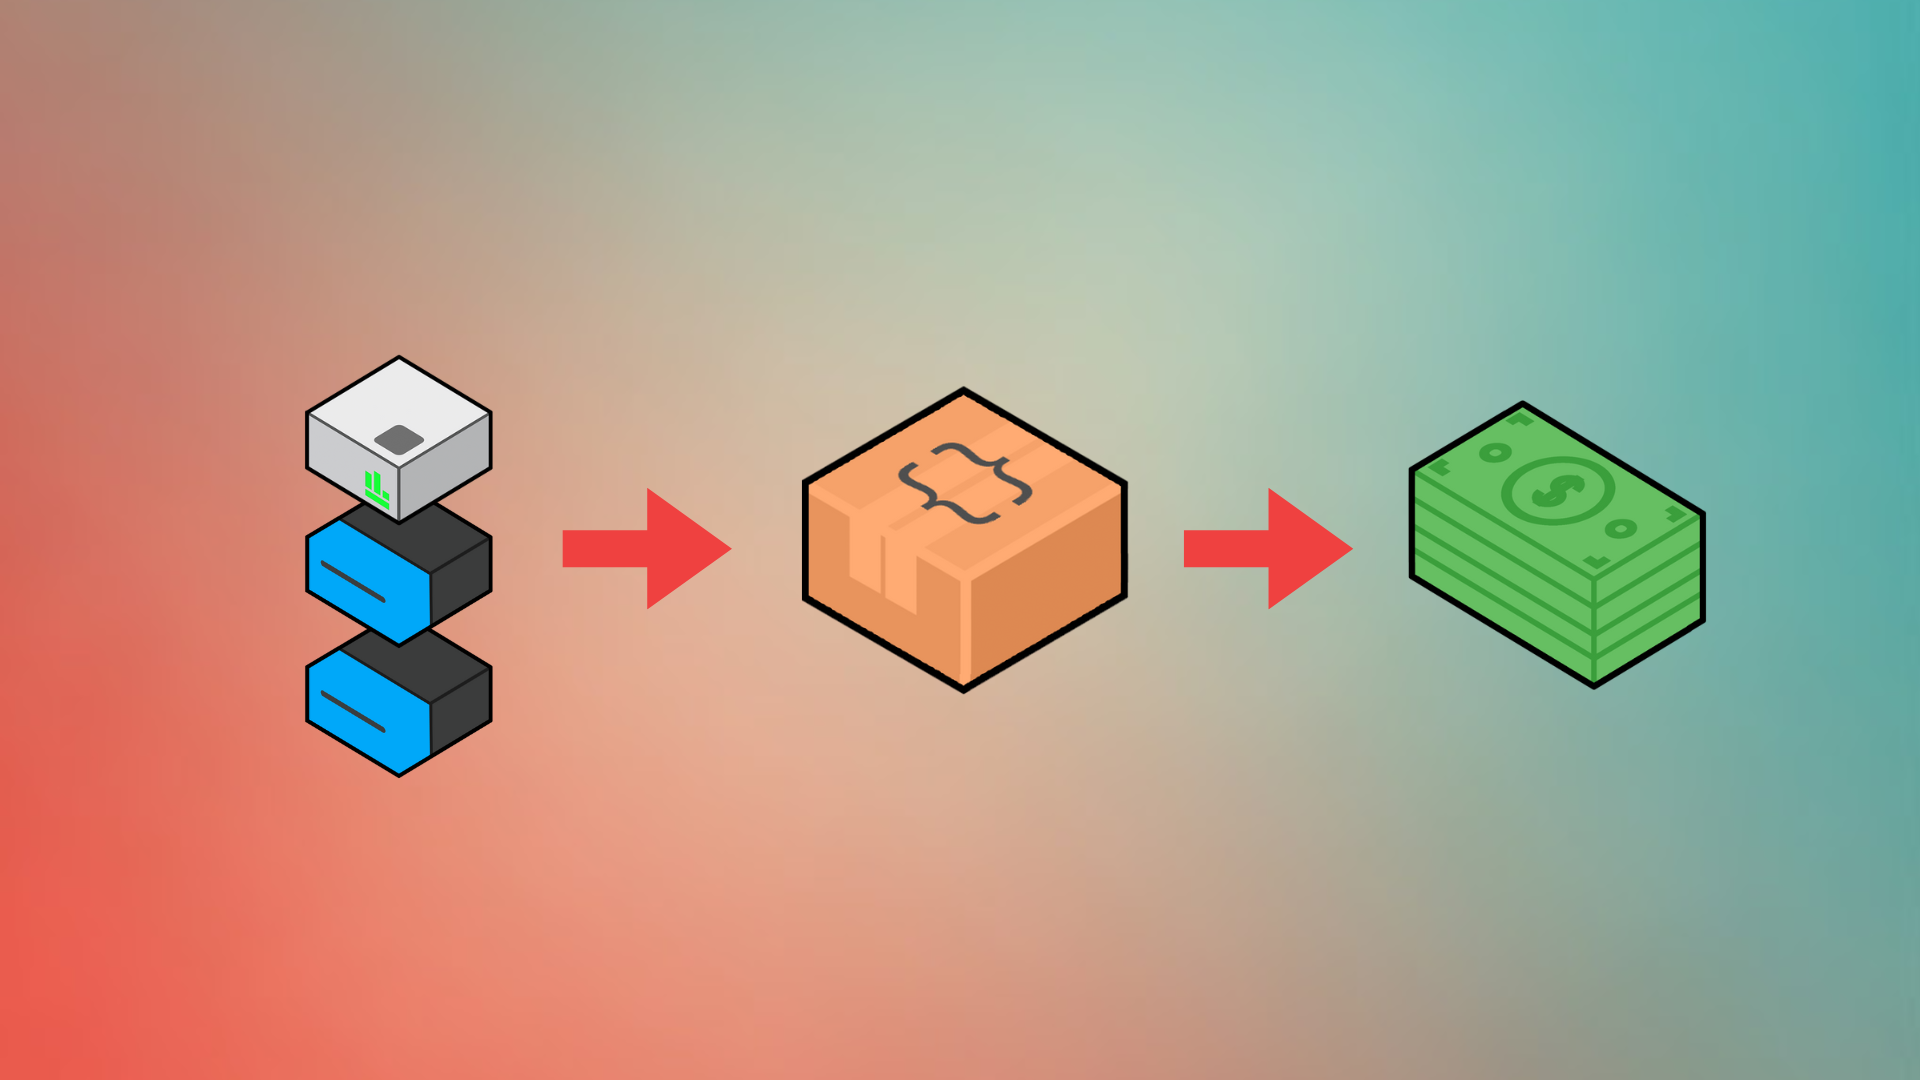
Congratulations! You've just mastered the art of time travel for your data!