Creating an MLFlow server in RONIN
MLFlow is an open source platform for managing machine learning (ML) workflows. This blog post teaches you how to set up a MLFlow server in RONIN.

MLFlow is an open source platform for managing machine learning (ML) workflows. MLFlow can either be deployed locally for a single user, or a you can create a MLFlow tracking server that multiple users can connect to for logging and storing their ML experiments. In this blog post we are going to teach you how to set up a MLFlow server in RONIN for all users in your project to access (or more broadly if desired).
MLFlow Server Components
There are 3 components to setting up a shared MLFlow server in RONIN:
- Tracking server - provides the interface for users to interact with MLFlow = single machine with MLFlow installed
- Backend store - database to record runs, model parameters, metrics, tags, notes, metadata, etc = single machine with PostgreSQL (or another database server) installed
- Artifacts store - file system to store files, models, images, in-memory objects, etc = Object storage bucket (S3)
Of course, you can simplify these components so that the backend store and/or the artifacts store instead sits on the main MLFlow tracking server machine e.g. PostgreSQL (or another database server) is installed on the same machine as MLFlow, or artifacts are written to the local filesystem instead of an S3 bucket. However, if your server is going to be used by multiple users, it is often best practice to keep these components separate.
Note: If you wish to have a simple single-user setup of MLFlow, you do not need to follow all of the steps below. Instead, install MLFlow on a single machine in RONIN and by default MLFlow will write data into anmlrunsdirectory. To interact with the MLFlow UI you can then run the commandmlflow uiand connect to port5000via RONIN LINK.
Creating your MLFlow server in RONIN
1. Create an object storage bucket in your RONIN project called “mlflow-artifacts”
2. Generate a read/write key for the bucket in RONIN
3. Create an Ubuntu 20.04 machine in your RONIN project which will become your backend store and name it “mlflow-db”
Note: If you are a RONIN Admin, you could create an RDS here in the AWS console instead, however having your own small PostgreSQL machine in RONIN is likely much more cost effective (particularly if the machine is scheduled to only run during business hours).
4. Connect to the machine and install PostgreSQL following this blog post and creating a user called “mlflow” instead of “ubuntu” - remember to note down the created password.
Note: You can install a different database server in this step if you are more familiar with a particular dialect. MLFlow supports mysql, mssql, sqlite, and postgresql.
5. Ensure you are the postgres user by running sudo -i -u postgres and create a blank database in PostgreSQL by running psql followed by CREATE DATABASE mlflow_db; Run exit to leave the psql editor
6. Edit the PostgreSQL config file (e.g. nano /etc/postgresql/12/main/postgresql.conf) - uncomment the listen_addresses configuration line and change localhost to *
Note: All machines in your RONIN project automatically have access to all ports on other machines in the same project via the default RONIN project security group. This means the MLFlow tracking server machine you create in Step 9 below (and any other machines in your RONIN project) will be able to connect to the PostgreSQL database now. If you would like to lock the database down to just the MLFlow tracking server, you can change * in this step to the local IP address of the machine you make in Step 9, so that the database is only listening to that address.7. Edit the PostgreSQL client authentication file (e.g. nano /etc/postgresql/12/main/pg_hba.conf) and add the following line so that your MLFlow tracking server will be able to interact with the PostgreSQL database: host all all all md5. As above, you can lock this down further if desired - refer to the documentation for more information.
Run exit to resume as the ubuntu user
8. Restart PostgreSQL: sudo service postgresql restart
9. Create another Ubuntu 20.04 machine in RONIN which will become your main MLFlow tracking server and name it “mlflow”
10. Connect to the machine and install the AWS CLI, PIP and MLFlow as follows:
- Install the aws cli (to connect to your MLFlow artifacts object storage bucket) with:
sudo apt install awscli - Install pip with:
sudo apt install pip - Install mlflow with:
pip install mlflow boto3 psycopg2-binary
Note: You may also need to upgrade some dependencies withpip install --upgrade requests awscliand fix some broken dependencies withpip uninstall black && pip uninstall click && pip install black && pip install click
11. Run aws configure with the read/write key information downloaded for the object store created in Step 2 - ensure region is set to your default region (on your project dashboard) and for format we usually recommend json
12. Connect MLFlow to your artifacts store (i.e. the mlflow-artifacts object storage bucket) and the backend store (i.e. the PostgreSQL mlflow-db machine) - replace the postgres password and .ronin.cloud as required based on your machine address and object store full name and run MLFlow on port 5000: ~/.local/bin/mlflow server -h 0.0.0.0 -p 5000 --backend-store-uri postgresql://mlflow:'password'@mlflow-db.ronin.cloud:5432/mlflow_db --default-artifact-root s3://mlflow-artifacts.store.ronin.cloud
Note: You can configure this command to run in the background on startup and then schedule both your mlflow and mlflow-db machines to only be on during business hours to save costs using the RONIN Smart Schedule feature.
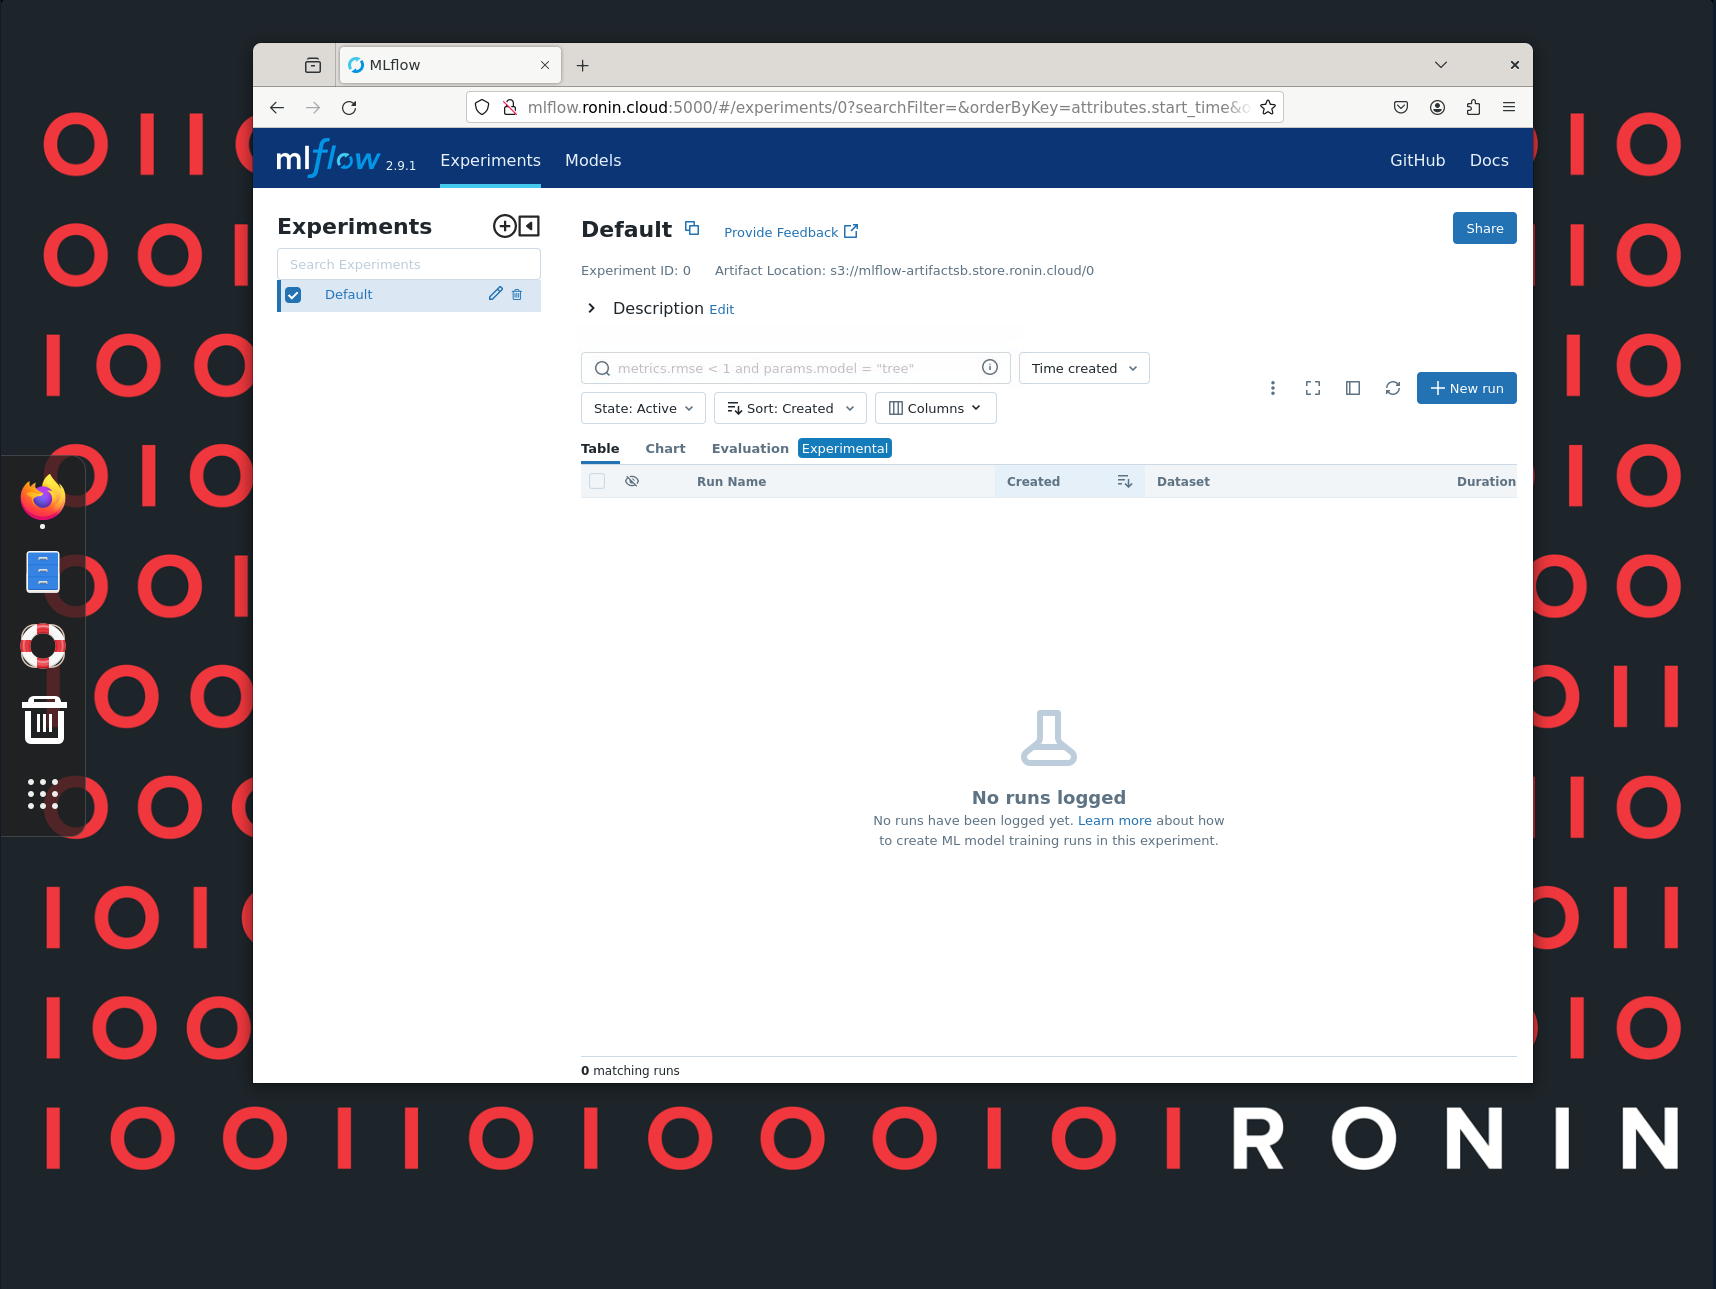
All RONIN machines in your RONIN Project should now be able to navigate to http://mlflow.ronin.cloud:5000/ (replace mlflow.ronin.cloud with your MLFlow tracking server machine’s address) via RDP or RONIN LINK's Desktop feature to use your MLFlow server. We recommend creating frequent backups of the PostgreSQL database either via cron jobs or RONIN backups.
Note: If you are a RONIN Admin and want ALL RONIN machines to be able to connect to this MLFlow server, in the AWS console create a security group which allows inbound traffic from the RONIN VPC CIDR ranges on port 5000 and attach this security group to the MLFlow tracking server machine. This will allow ALL RONIN machines and clusters to access the MLFlow server. You can also add your own internal IP ranges etc to the security group too if desired.
For users to log their experiments to this MLFlow server from their own machine, they will need to set the following global environmental variables (replacing your MLFlow tracking server machine’s address and the mlflow-artifacts object storage bucket credentials):
export MLFLOW_TRACKING_URI=http://mlflow.ronin.cloud:5000
export AWS_ACCESS_KEY_ID=<enter_aws_access_key_id>
export AWS_SECRET_ACCESS_KEY=<enter_aws_secret_access_key>
For additional MLFlow setups or configurations see: https://mlflow.org/docs/latest/tracking.html
We hope this helps make managing your ML lifecycles across your whole team much easier!