SSH Tunnelling with PuTTY
Now that you've connected to your machine with PuTTY, you may be wondering how you might create a secure SSH tunnel to your application. No, you can't just use regular ssh commands for some reason (who knew?!)

Now that you've connected to your machine with PuTTY you may be wondering how you might create a secure SSH tunnel to your application with PuTTY. No, you can't just use regular ssh commands for some reason (who knew?!)
We suggest you read our previous article on port forwarding for a detailed understanding of what Port Forwarding / Tunnelling achieves.
Again, we will need an example to explain what we are doing. So for this we will install an apache server on a machine called webserver.ronin.cloud
We will also assume you've already added your SSH key to the config in PuTTY as described in this article
Lets get started
Step 1 - Add a port forwarding rule to your connection
Enter your source port (your local machine port you want to forward)
For this example, we're forwarding port 1234
Then, add your Destination address of your RONIN machine and application port
For this example, we're using Apache, and wanting to connect to port 80

Step 2 - Click Add

Make as many rules as you need to in the same way.
Step 3 - Connect to your machine!
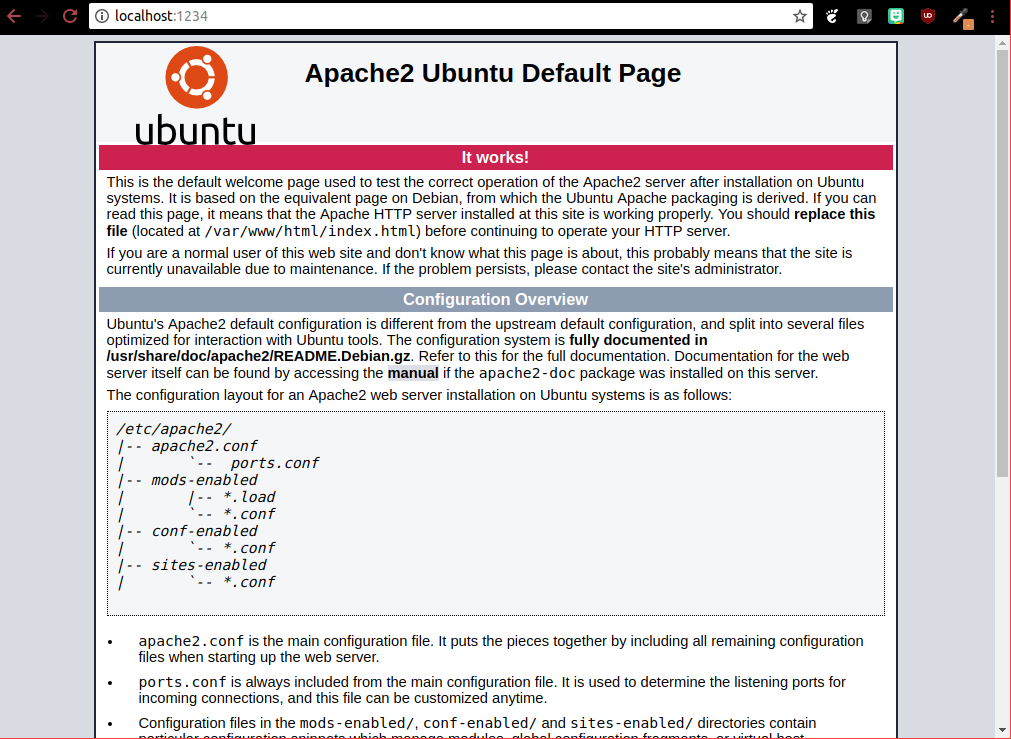
Once your machine is connected, we can now go to http://localhost:1234 and be greeted with the apache default landing page

Tada! That was (relatively) pain free!
Step 4 (Conditional) - Enable X11 forwarding
If you need to start a graphical application (for example, from a database server) and the output should be displayed on your local PC, then you must activate X11 forwarding in PUTTY.

Now log in to the machine as normal. To check that X forwarding has been successfully negotiated during connection startup, you can check the PuTTY Event Log.
More about X11 Forwarding can be found here
