Onboarding users into RONIN ISOLATE
Quickly onboard users into RONIN Isolate with our step-by-step guide. Learn how to set up user access in AWS WorkSpaces Applications, assign RONIN stacks, and walk end users through logging in to RONIN via their secure desktop environment.


Providing secure, streaming access to desktop applications is easier than ever with Amazon WorkSpaces Applications (formerly known as Amazon AppStream 2.0). Whether you are onboarding a new team member or setting up a contractor, the process involves two distinct phases: the Admin Setup in the AWS Console, and the End-User Onboarding.
In this guide, we’ll walk through how to provision a user and grant them access to the RONIN stack.
Phase 1: The Admin Setup
1. Access the Service
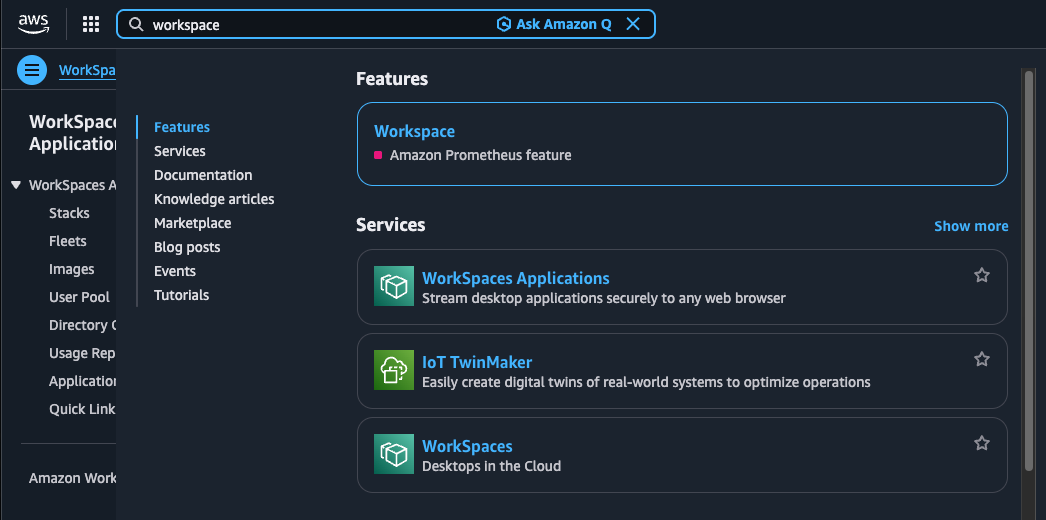
First, log into your AWS Console. In the search bar at the top, type "workspace". Look for and select WorkSpaces Applications from the results (you may see it described as "Stream desktop applications securely to any web browser").
Tip: Even though the service has been rebranded to WorkSpaces Applications, you might still see references to AppStream in emails or older documentation.
2. Navigate to the User Pool
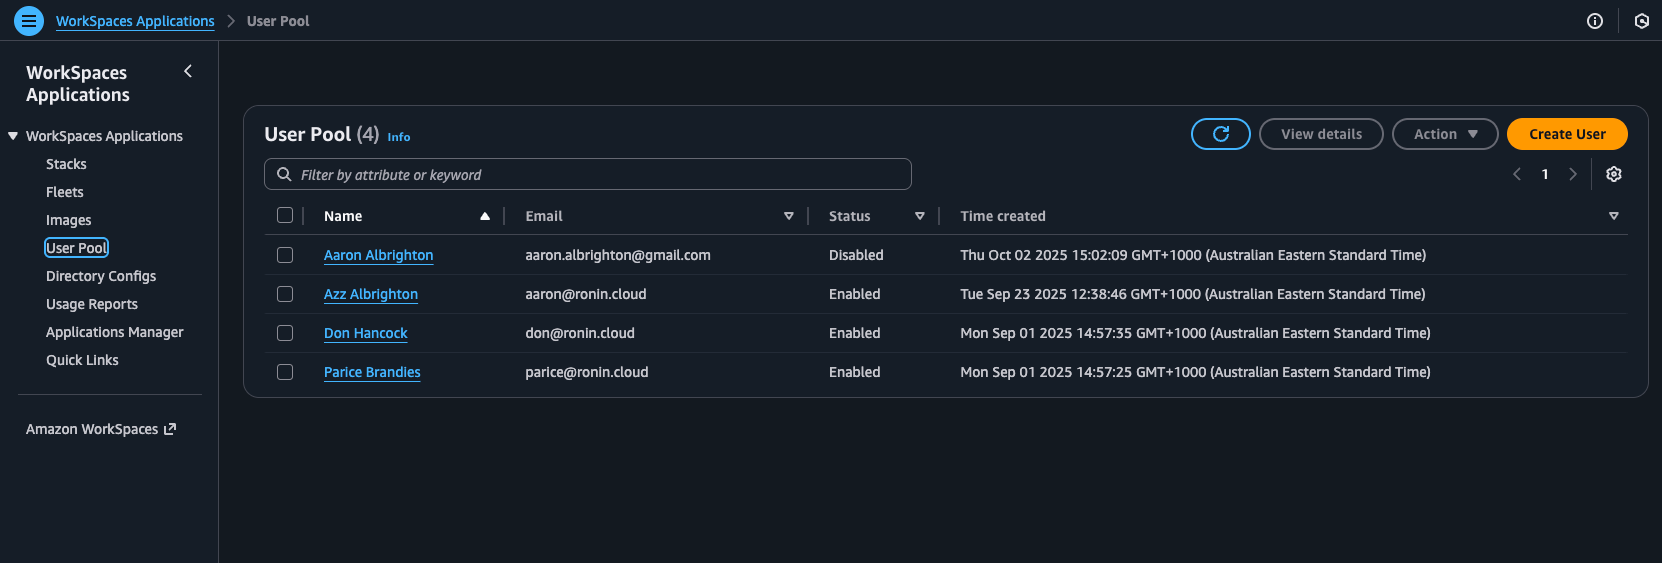
Once inside the WorkSpaces Applications console, look at the left-hand navigation sidebar. Under the WorkSpaces Applications section, click on User Pool.
This screen displays all current users, their email addresses, and their status (Enabled/Disabled). To add a new person, click the orange Create User button in the top right corner.
3. Create the User Identity
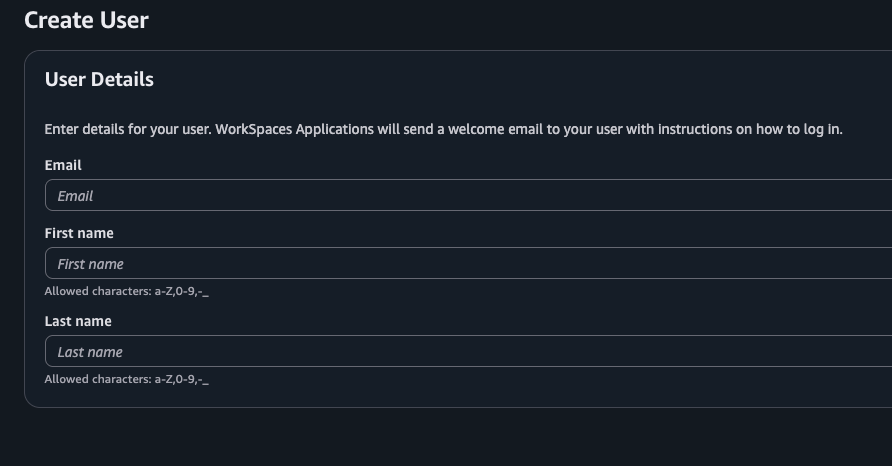
You will be prompted to enter the user's details. Fill in the following fields:
- Email:
- First name:
- Last name:
Once filled, confirm the creation. The user will now appear in your list, but they don't have access to anything yet.
4. Assign the Stack
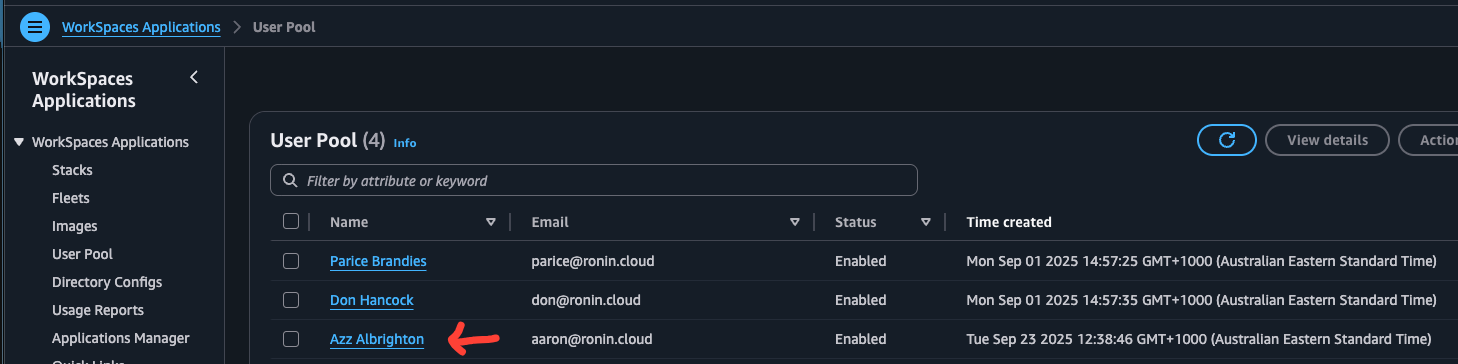
This is the most critical step. A user can exist in the pool, but they cannot log in until they are assigned to a specific "Stack" (a collection of applications/desktops).
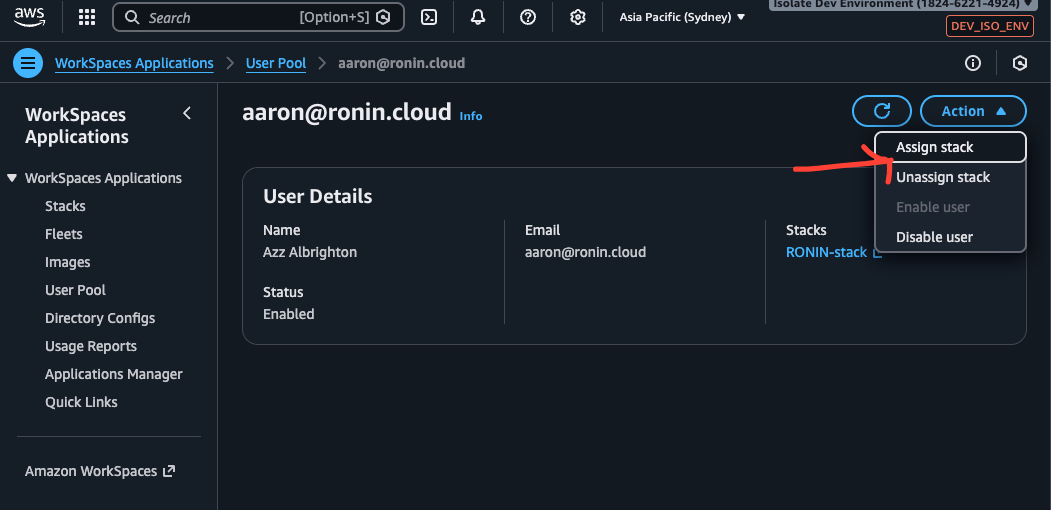
- Click on the specific user's email address in the User Pool list to open their details page.
- Click the Action dropdown menu in the top right.
- Select Assign stack.
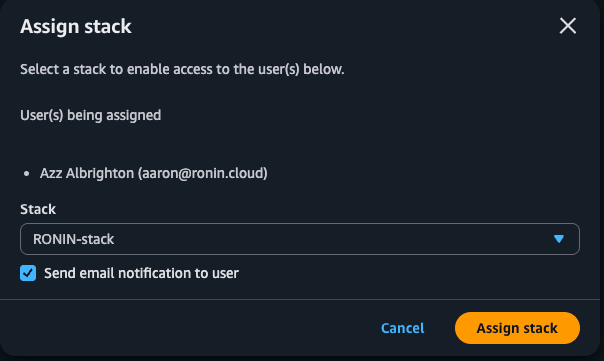
- In the modal that appears, select RONIN-stack (or the relevant stack for your team).
Ensure the send email notification to user is checked! And click Assign Stack
5. Granting Platform Access (AWS Cognito)
You have now given the user access to the streaming desktop, but they still need an identity to log into the actual RONIN platform once they are inside.
Ensure you have added the user's credentials to AWS Cognito. Without this, they will be able to launch the desktop but won't be able to sign in to the RONIN dashboard.
6. Granting Access to a RONIN Project
Once the user is inside the system, they will need to be added to a RONIN project so that they can start creating resources! We've written a blog post about that too.

Phew! Good job getting there! Next we discuss what the End User will need to do to get access to their Secure Isolate environment.
Phase 2: The End-User Experience
Once you have completed the admin steps, the baton passes to the user. Here is what they should expect.
1. The Welcome Email
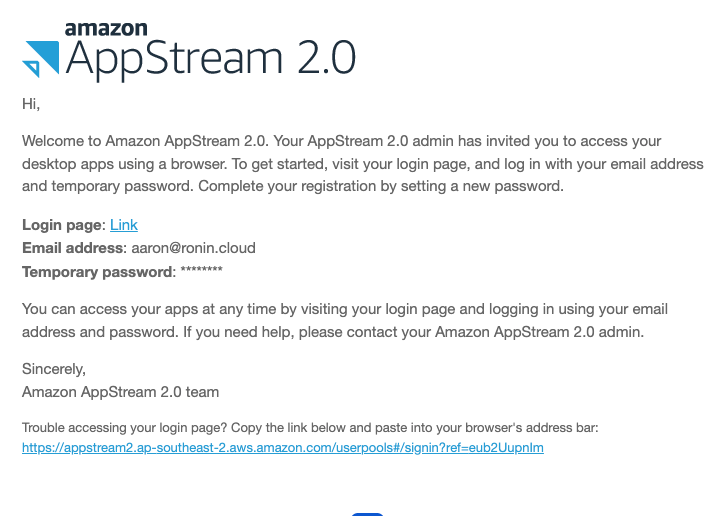
The user will receive an automated email from Amazon.
- Subject: Welcome to Amazon AppStream 2.0
- Action: The email contains a Login page link, their Email address, and a Temporary password.
Important: Tell your users to check their Spam/Junk folder if they don't see this email immediately!
2. Logging In
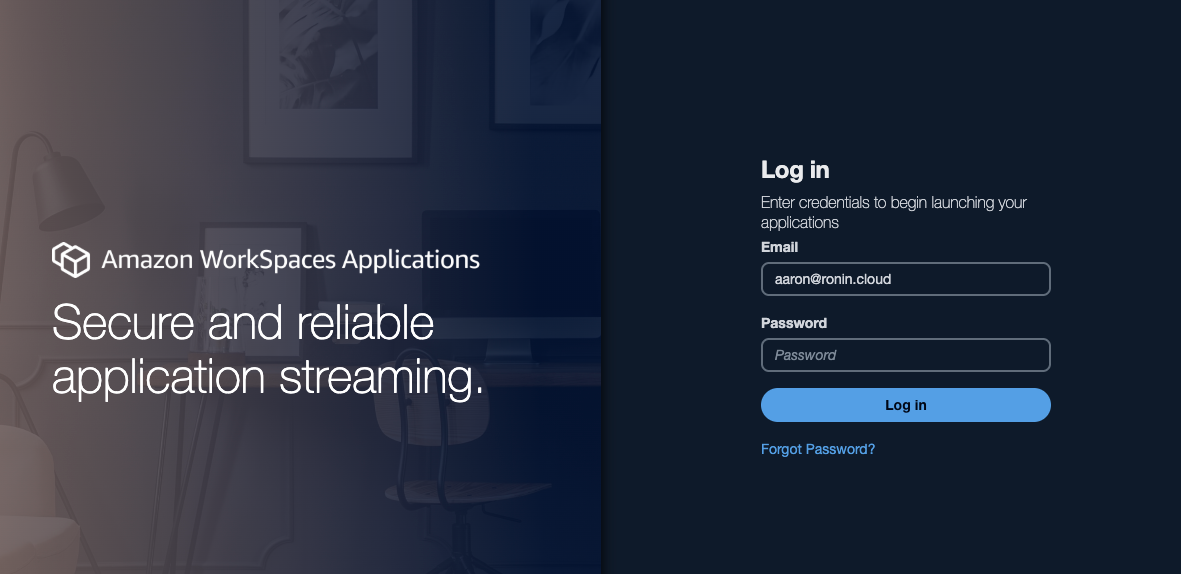
When the user clicks the link, they will be taken to the Amazon WorkSpaces Applications login portal.
- Enter the email address.
- Enter the temporary password provided in the email.
- They may be prompted to set a new, permanent password.
3. Launching the Application
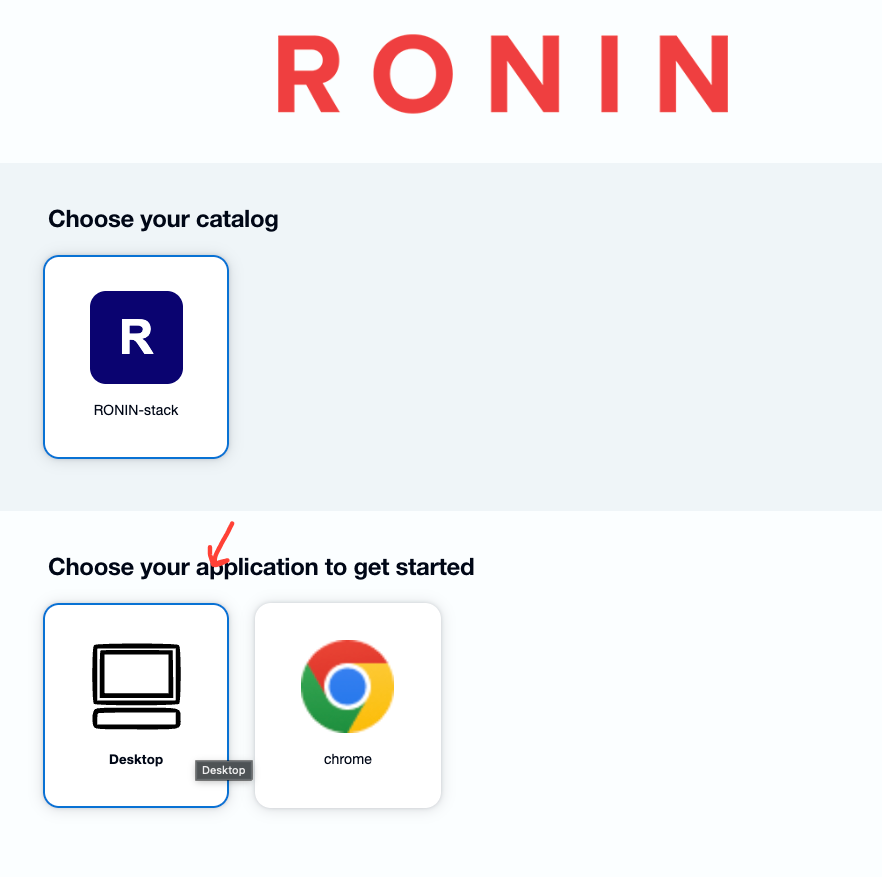
After successfully logging in, the user will see the Catalog page.
- Select the RONIN-stack catalog.
- Choose the D
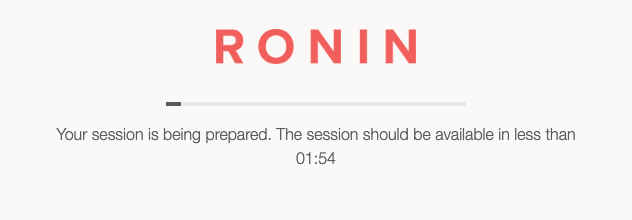
4. Session Preparation
Once an app is selected, the system will begin provisioning the streaming instance. The user will see a loading bar with a message: "Your session is being prepared."
This usually takes less than 2 minutes.
9. Landing on the Desktop
Success! The browser will launch a streaming desktop session. You are now inside the secure environment.
- Take a look at the taskbar - you will see that RONIN LINK is already installed and ready for you.
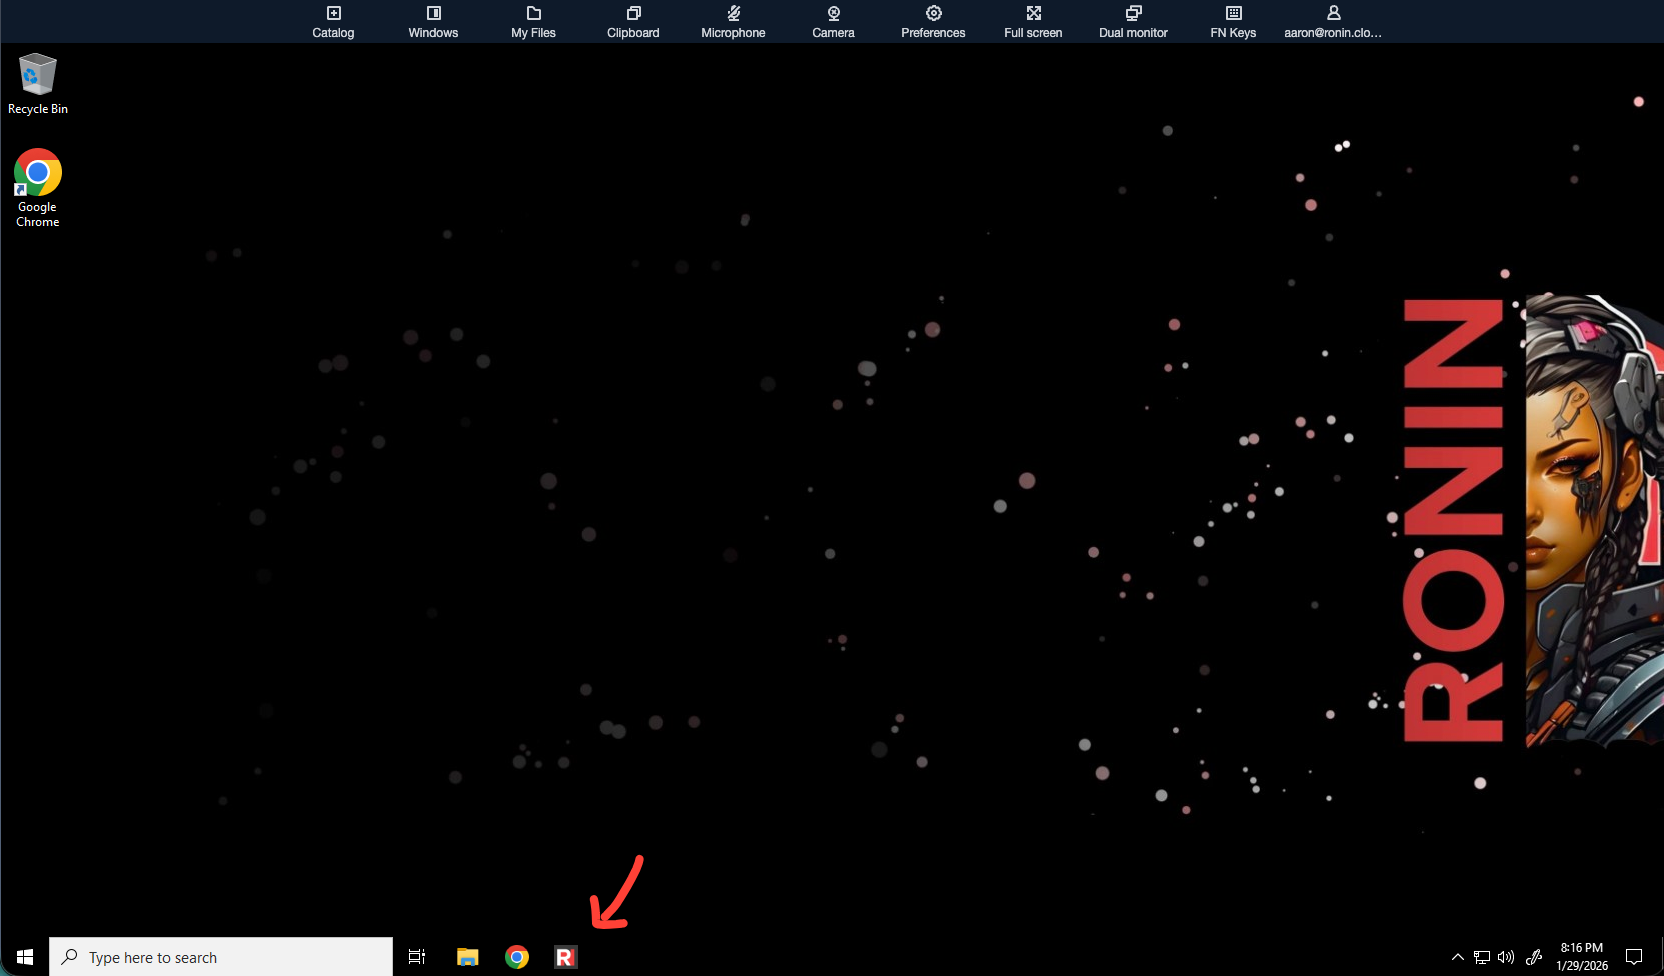
10. Accessing the RONIN Isolate
To access your specific isolate environment:
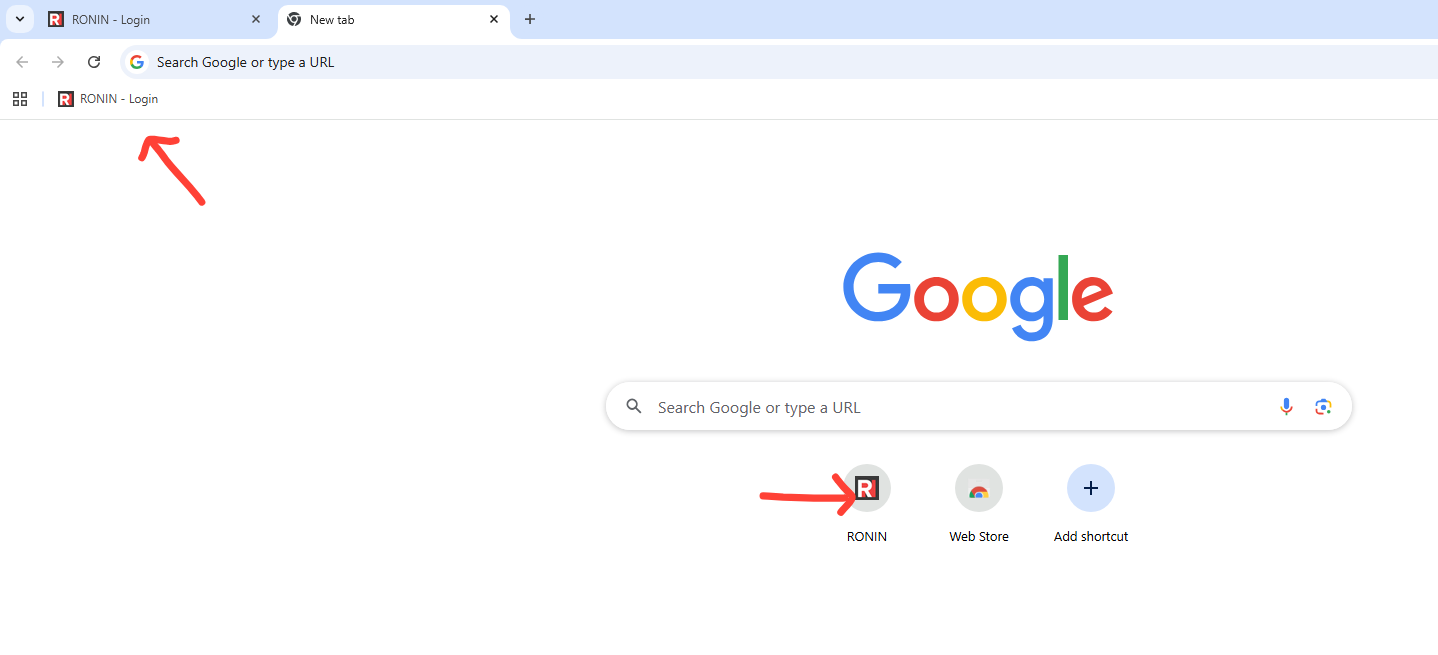
- Open Google Chrome from the desktop or taskbar.
- You don't need to hunt for the URL. On the new tab page, simply click the RONIN bookmark/shortcut.
- This will navigate you directly to the login page for the RONIN Isolate, where you can use your credentials to sign in and start working.
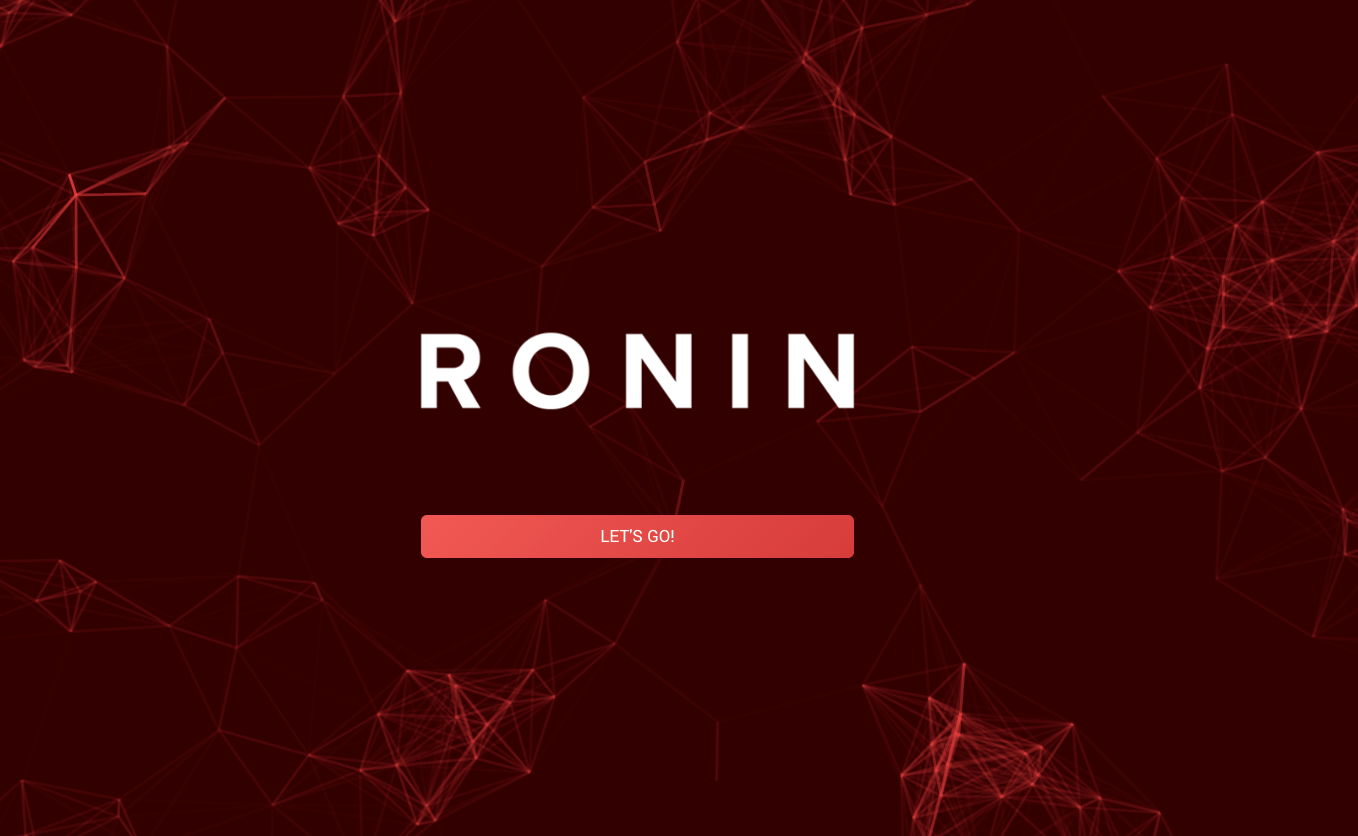
11. Signing in to RONIN
If your account has been set up with Single Sign On, then you should have a nice shiny LOGIN button, and that's all you need!
If, for some reason, Single Sign On couldn't be set up for you, sadly you have some more logging in to do 😢
Please see our post on how to log into RONIN using two-step authentication!
And if you're here and you're finally logged in, congratulations! You've crossed all the secure "barbed wire" that keeps your resources safe (and you safe). Now go do amazing things!
