Creating Users a WorkSpace for RONIN Isolate
RONIN Isolate has been designed to only be able to be accessed via a secure enclave of machines called WorkSpaces. In this blog post we describe the process of creating WorkSpaces for RONIN Isolate users.

RONIN Isolate has been designed to only be able to be accessed via a secure enclave of machines. By default, these machines are set up as "WorkSpaces" in AWS. For users to connect to RONIN Isolate, an Administrator will need to create a WorkSpace for that user. This blog post will describe the process of creating WorkSpaces for RONIN Isolate users.
1. Login to the AWS Console and Navigate to WorkSpaces
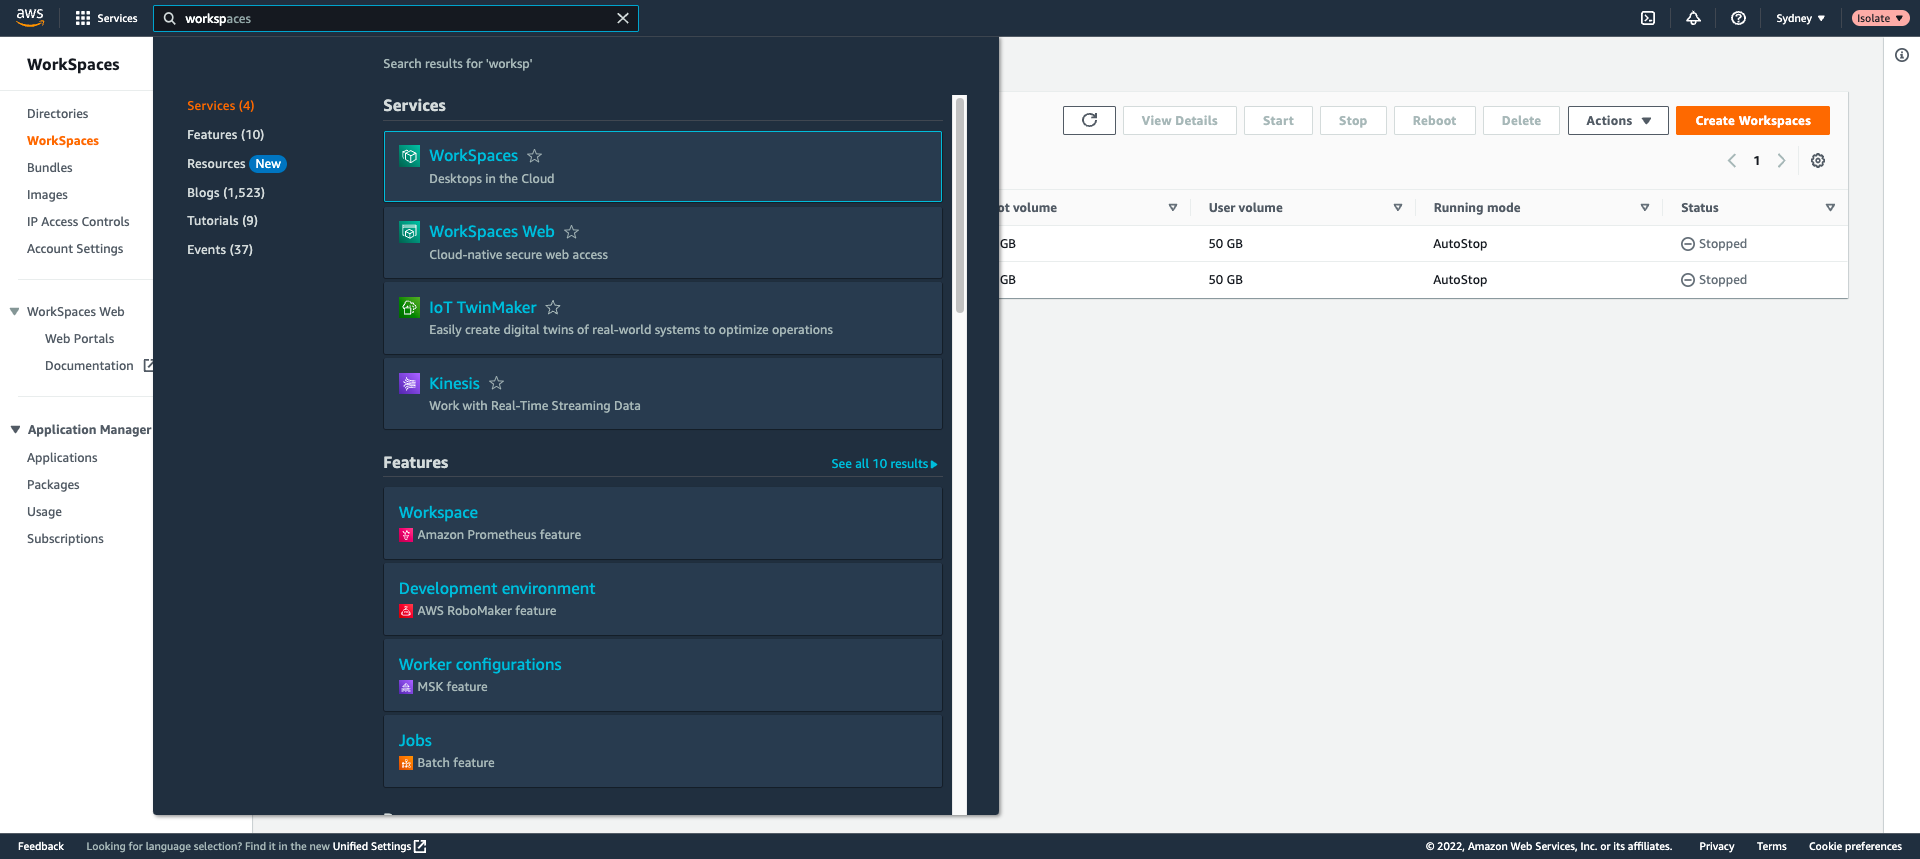
2. On the WorkSpaces screen (from the left menu bar), select "Create WorkSpaces"

3. Complete the form with the following information
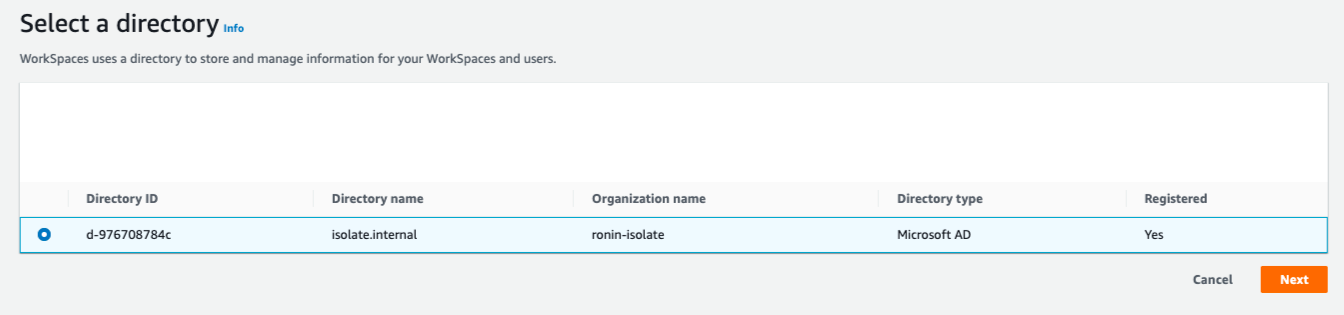
Step 1: Select the available directory. There should already be a directory available for you. Take note of the directory name for Step 2.
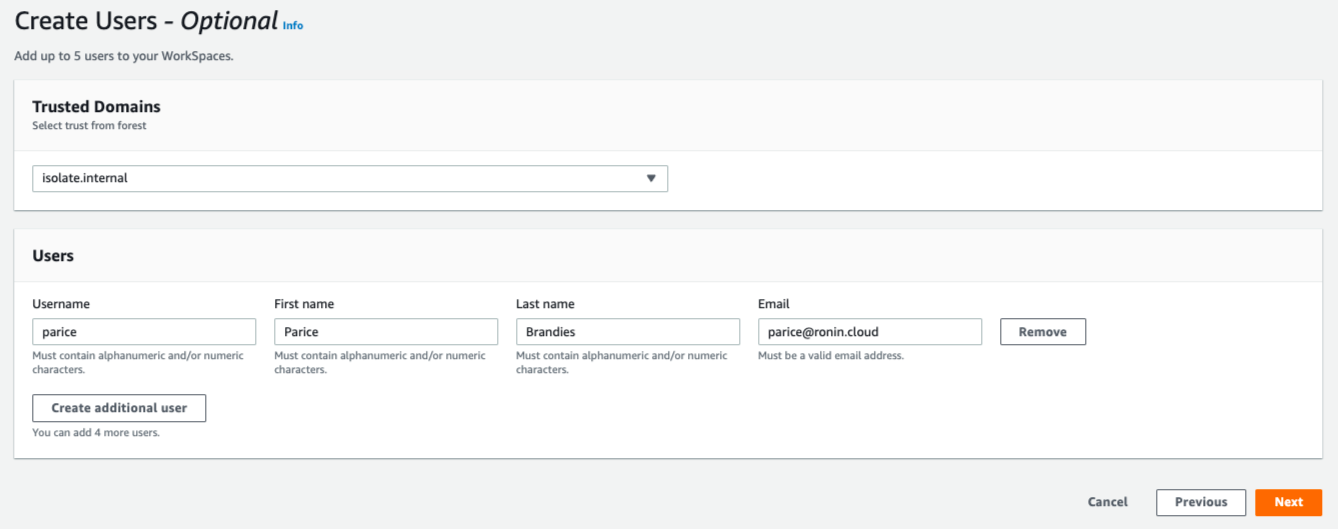
Step 2: Ensure the selected Trusted Domains matches the directory name from Step 1 and add a user for the WorkSpace. The users will need to use their usernames every time they wish to login to their WorkSpace, so we recommend using something that is familiar or easy to remember. We do not recommend using their email address as the '@' symbol can cause some login issues on some systems.
Note: You can create up to 5 users at a time.
Step 3: Select the user you created from Step 2 to create a WorkSpace for that user.
Note: You can create a WorkSpace for up to 25 users here. If you need to create more users, navigate back to Step 2.

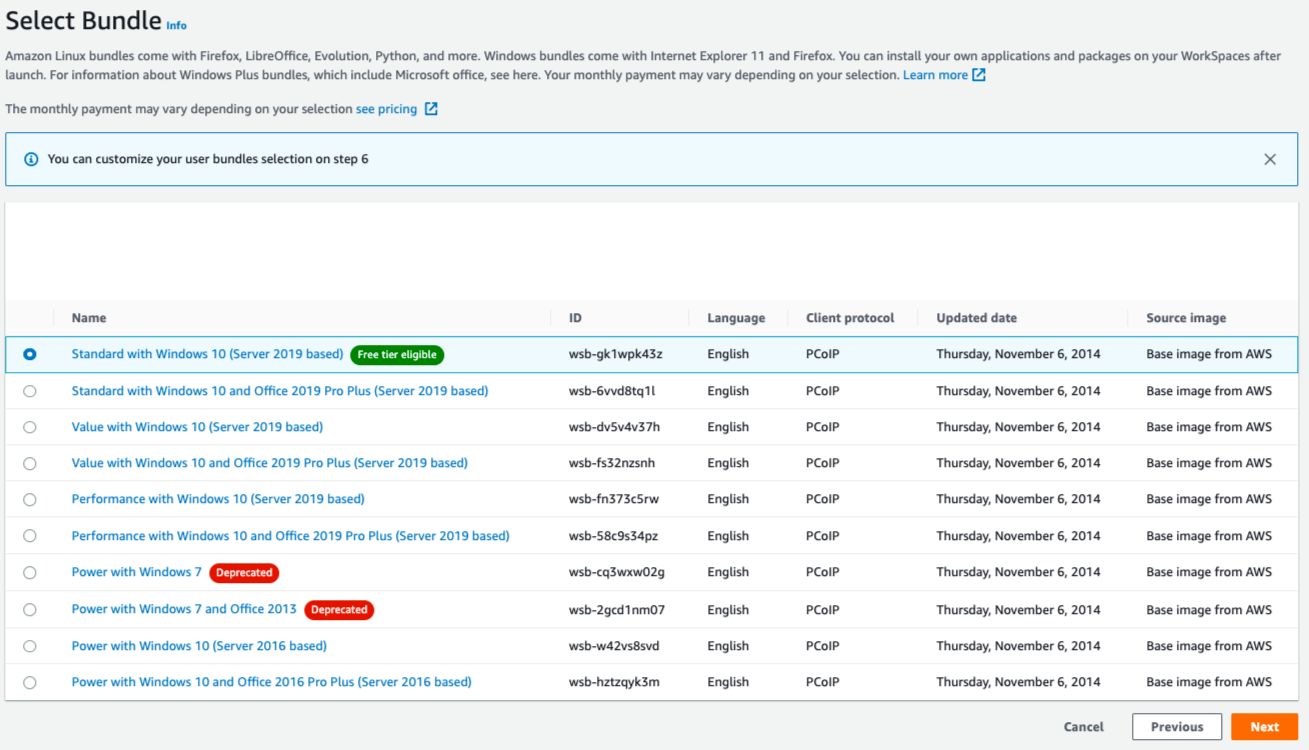
Step 4: Select the "bundle" i.e. base operating system, you wish to use for your workspace. We recommend selecting the latest, free tier Windows bundle.
Step 5: Ensure that AutoStop is selected for the running mode and that the number of hours is set to 1. This will ensure the WorkSpace machines are stopped after being idle for 1 hour, which will help reduce WorkSpace costs. Tags can be added to group WorkSpaces, or add financial codes to WorkSpaces etc if desired.

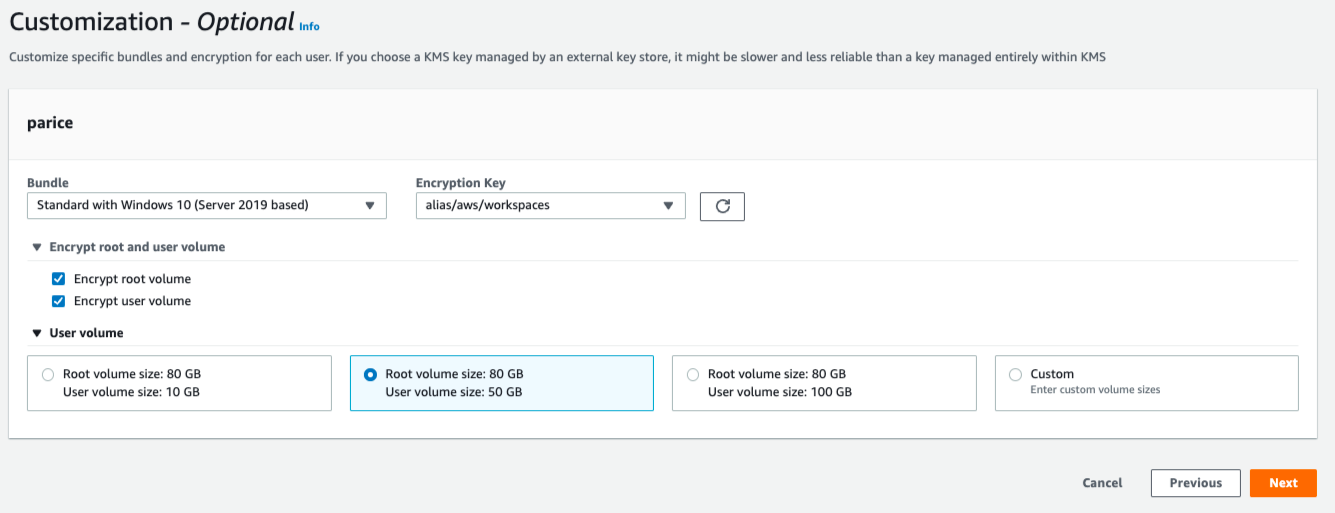
Step 6: We recommend encrypting both the root volume and user volume for the WorkSpace and leaving the encryption key as default. The user volume can also be left at the default size, as this is usually sufficient in most circumstances.
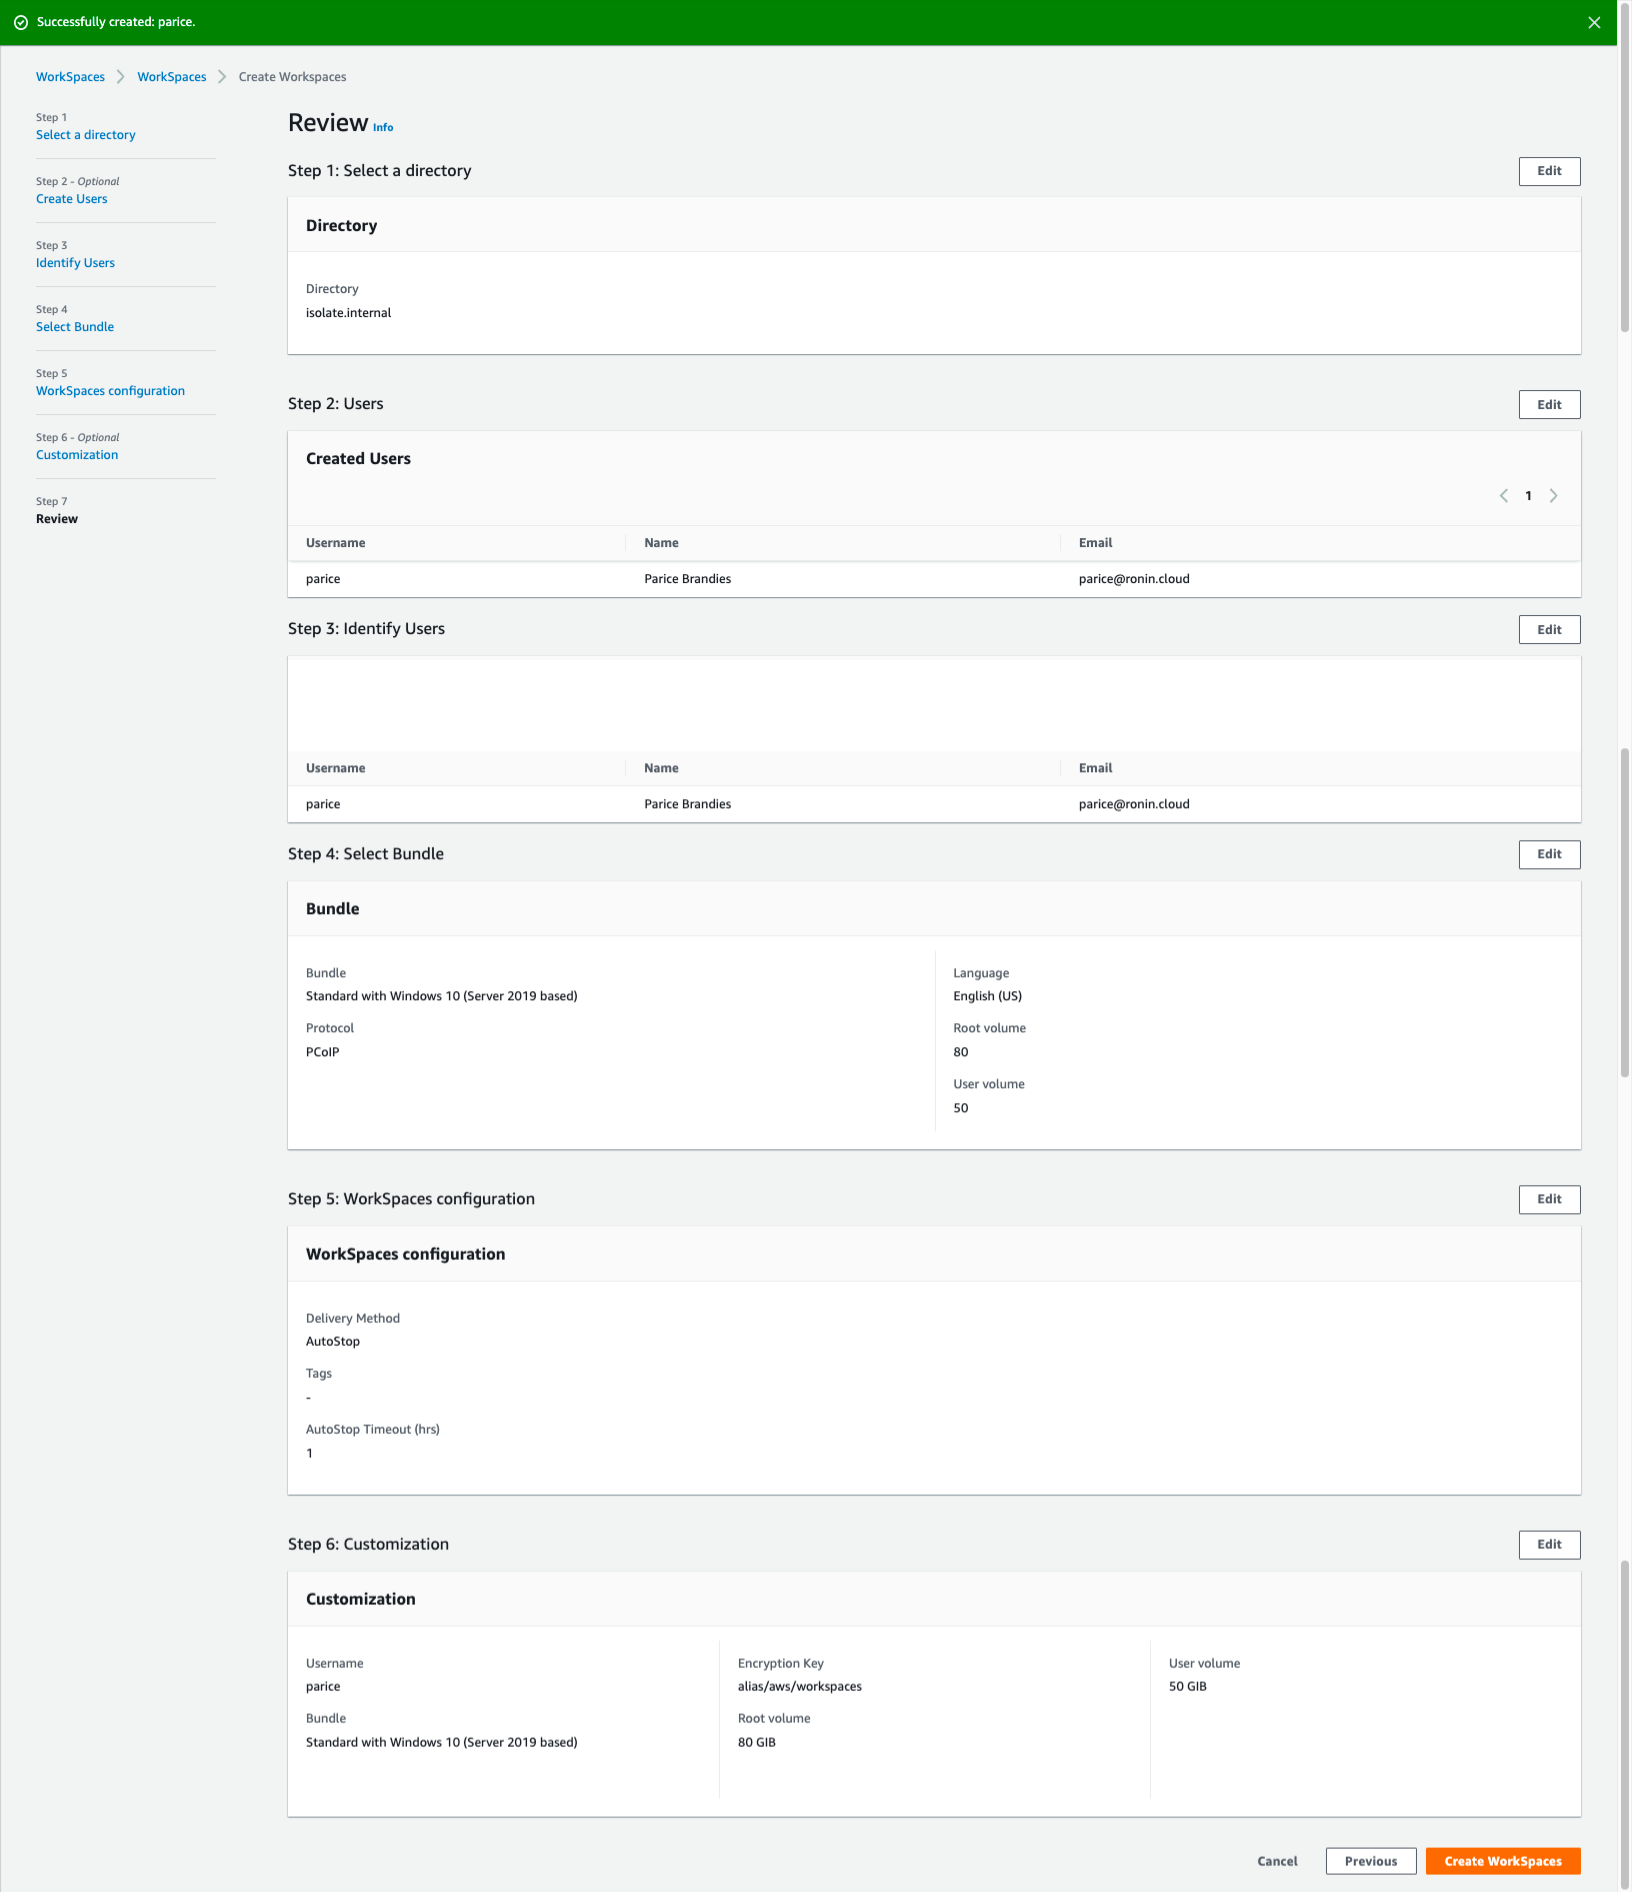
Step 7: Review your selections and click "Create Workspaces".
When the WorkSpace is ready, the user will receive an email with a link that will help them create a password and finish setting up their WorkSpace. Refer to our blog post on logging into a WorkSpace and RONIN Isolate for more information.
Note: It can take some time (up to an hour) for a WorkSpace to be created, particularly if the drives are encrypted.
Navigate to the "Directory Service" in the AWS Console, select the Directory and then click the "Reset User Password" button.