Creating a Machine in RONIN
Creating a machine is easy in RONIN, we take care of all the tricky bits.

Machines in RONIN are like having your very own computer in the cloud, known as a virtual machine. These machines can be used for a variety of purposes, including hosting websites and applications, running big data analytics, performing high-performance computing, or creating a scalable environment for testing and development.
Creating one is super easy in RONIN! Don't worry if you make a mistake, these machines can be spun up and down or changed to meet your needs.
Lets get started
Step 1 - Select "New Machine" in the sidebar.
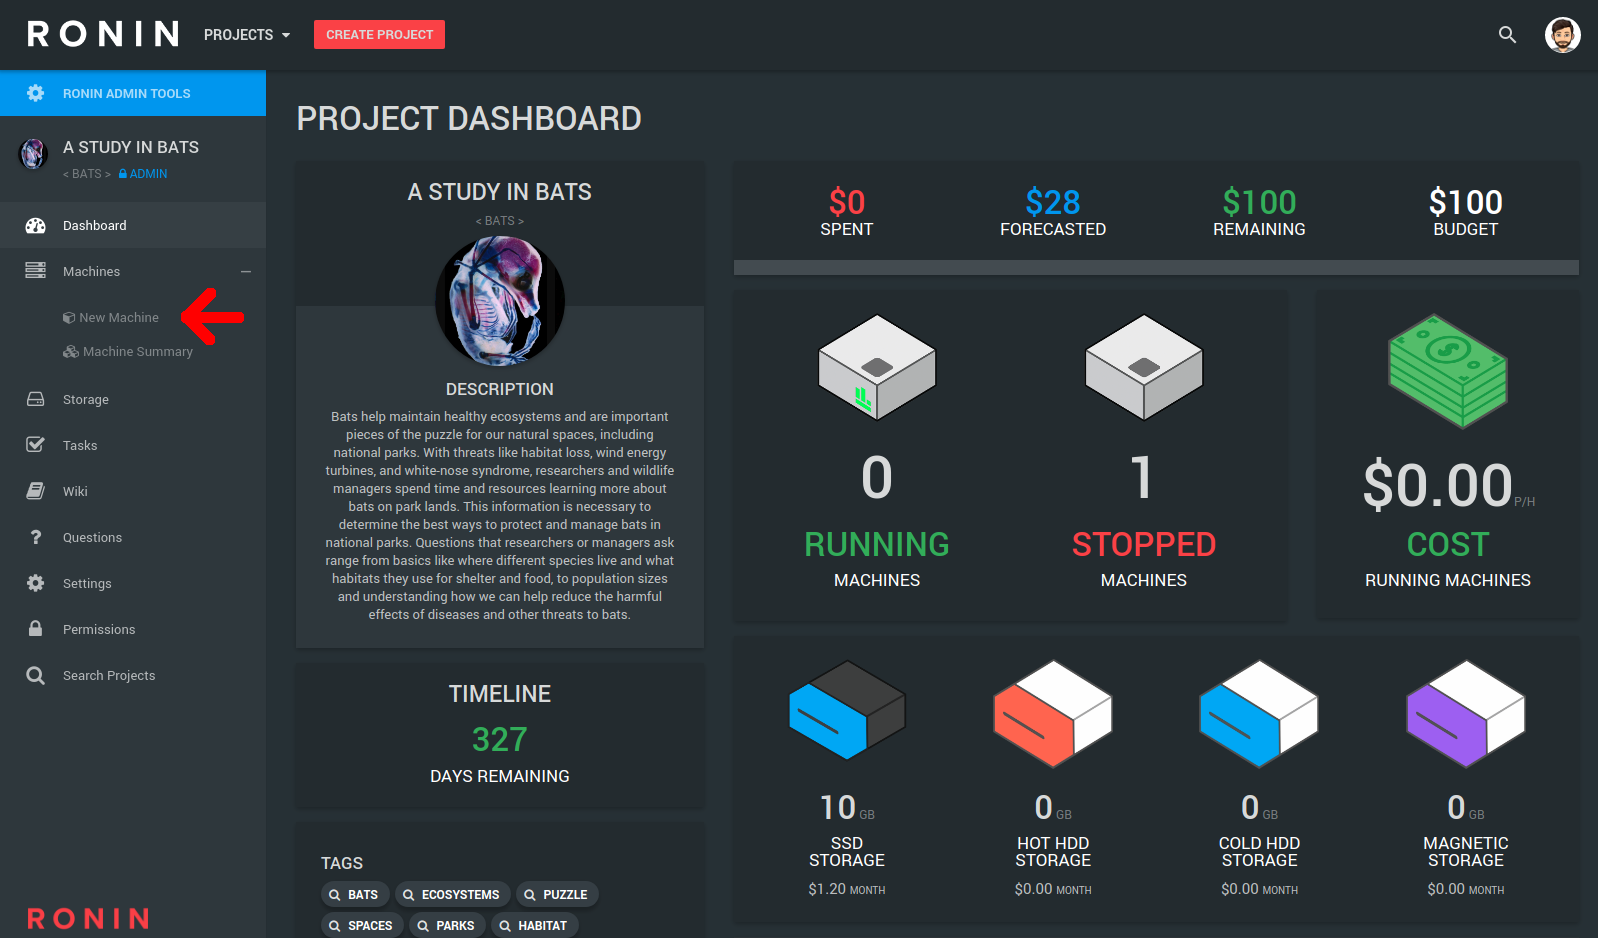
This will take you to the create machine page.
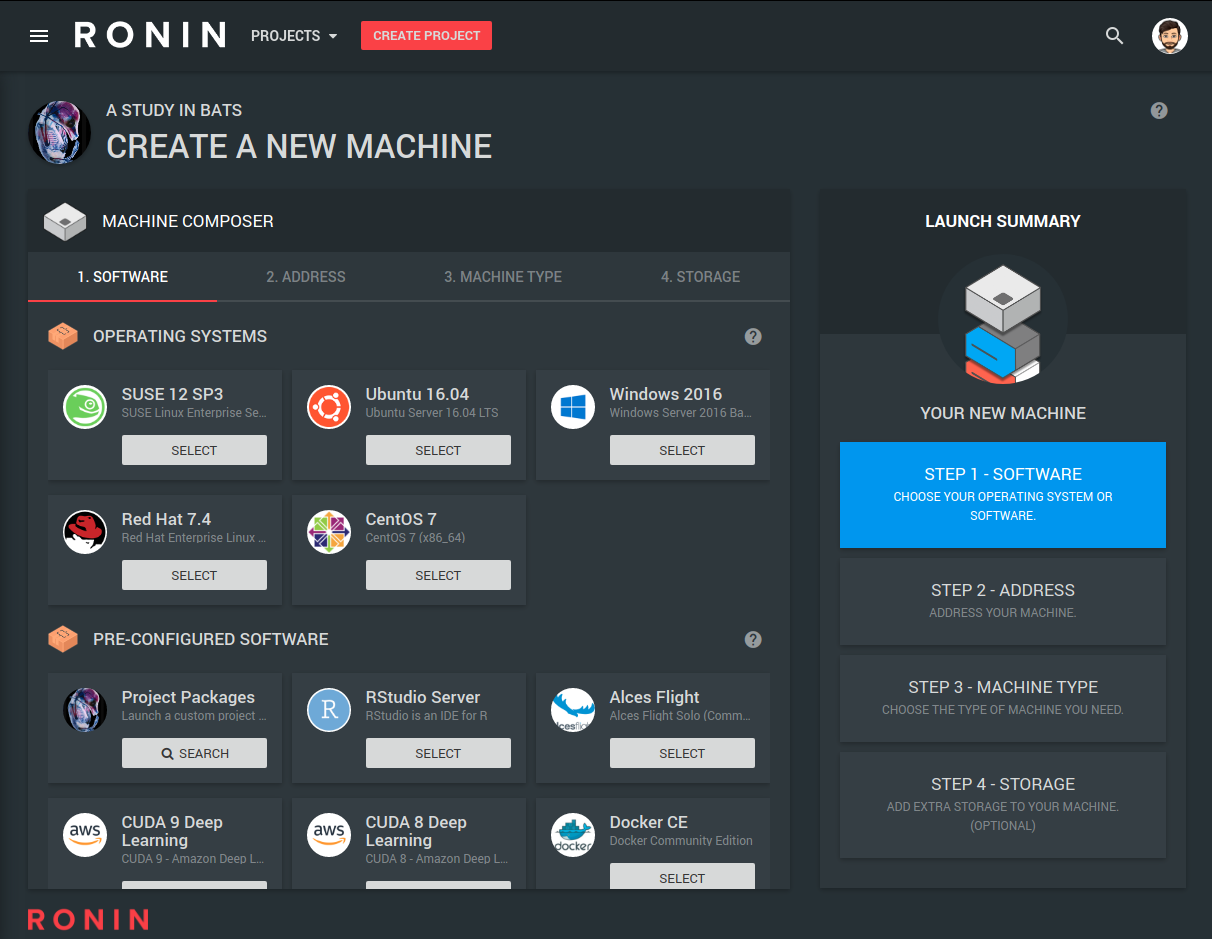
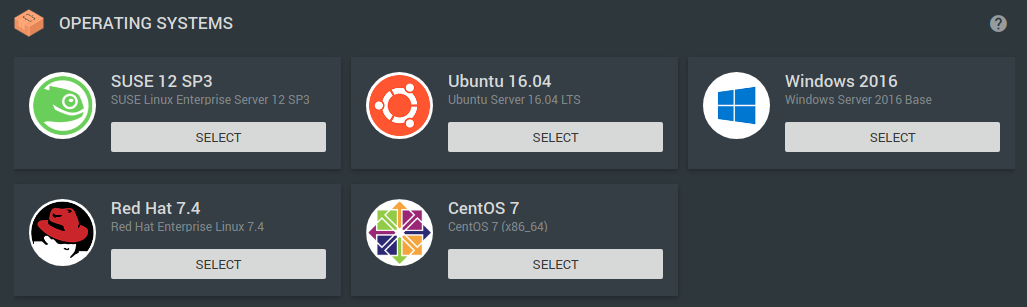
In the top section of the Software tab, you have a choice from all the latest operating systems.
In the bottom section of the 1. SOFTWARE tab, a list of pre-configured software for a quicker start.
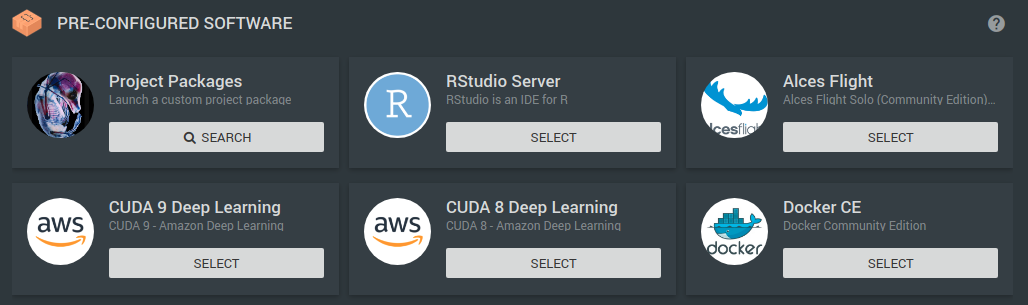
There is also a section where you can choose from your project's pre-configured software, called Packages.
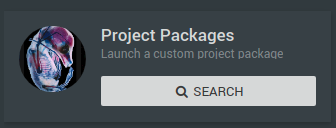
For more on packages - click here
Step 2 - Select an operating system, pre-configured package or a project package.
For this example, we'll pick an Ubuntu machine.
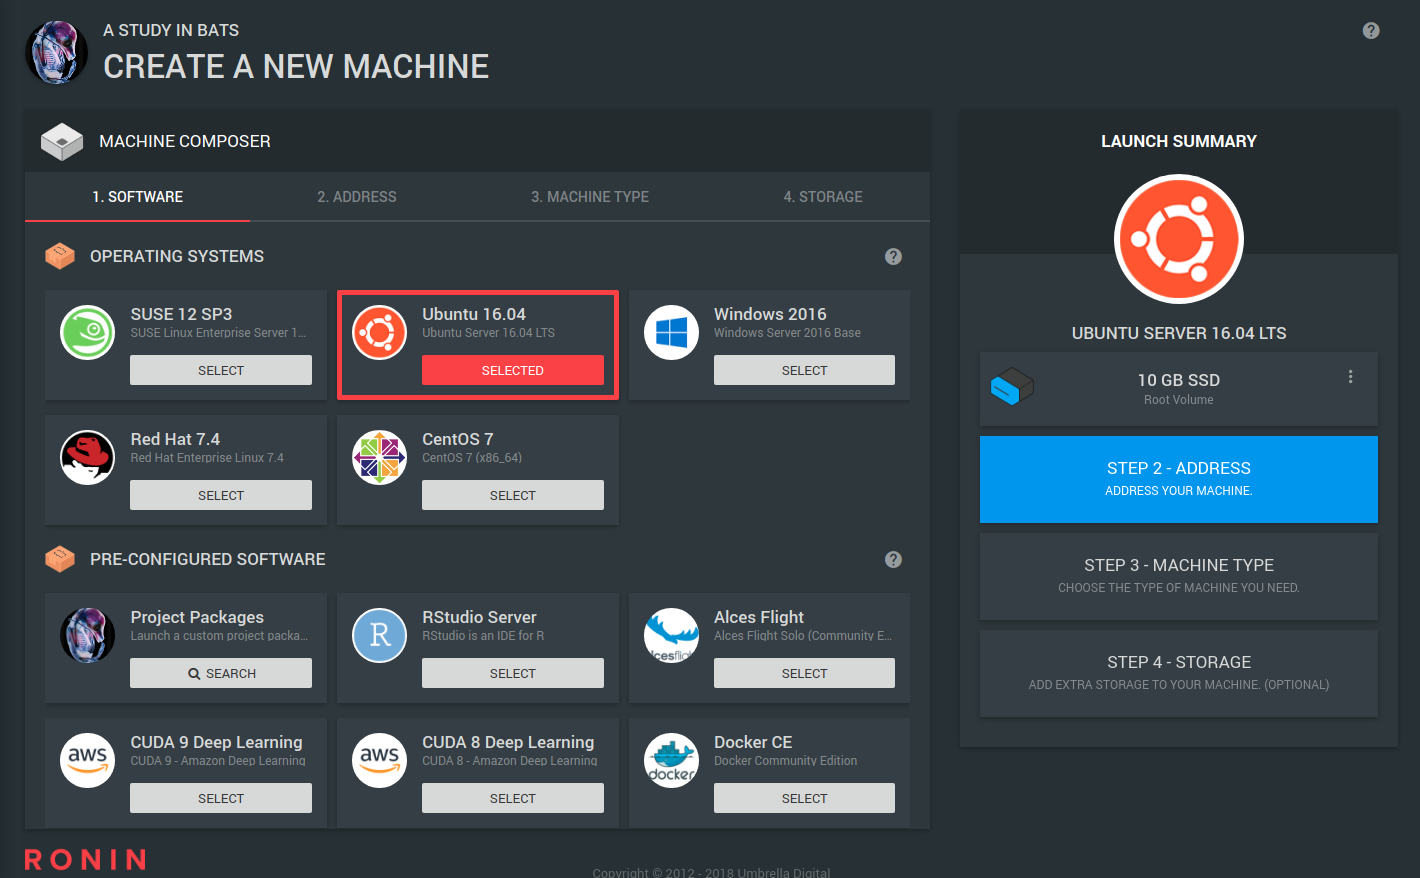
You can now move on to the next tab - 2. ADDRESS.
Step 3 - Give your machine a web address.
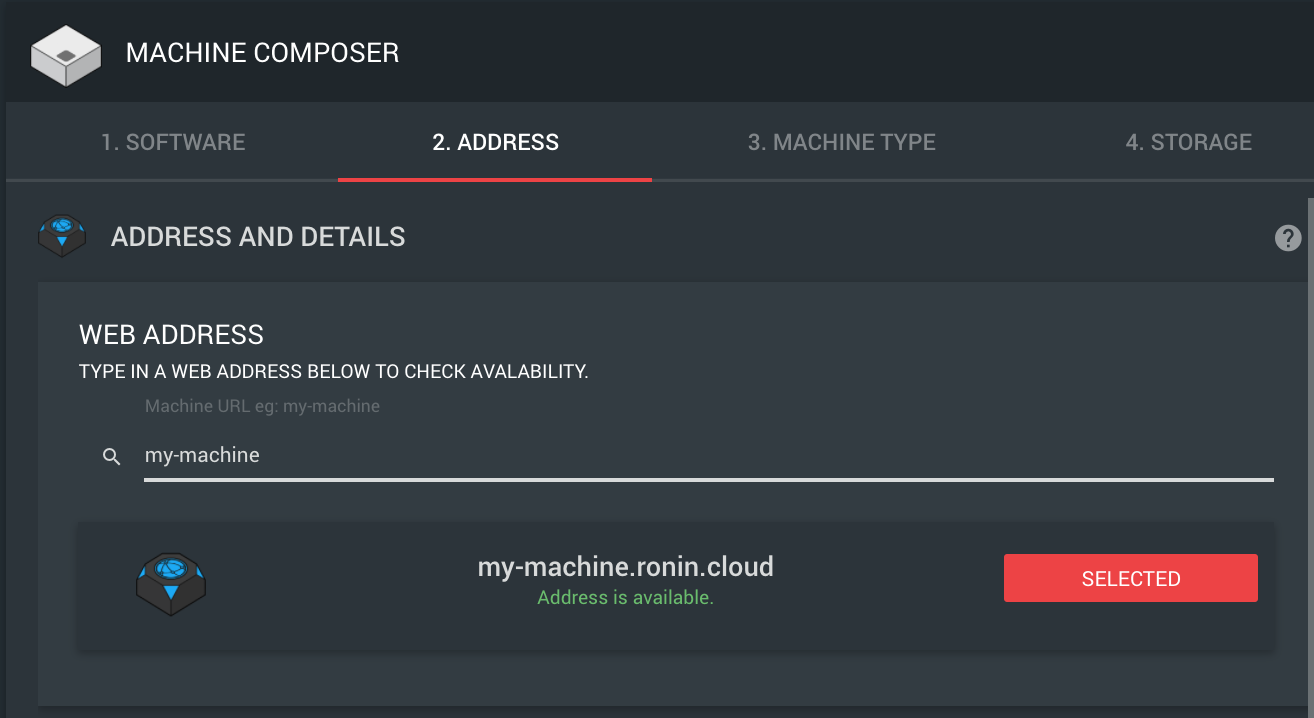
Once you stop typing, RONIN will check if this is available, and you will then be able to SELECT this address.
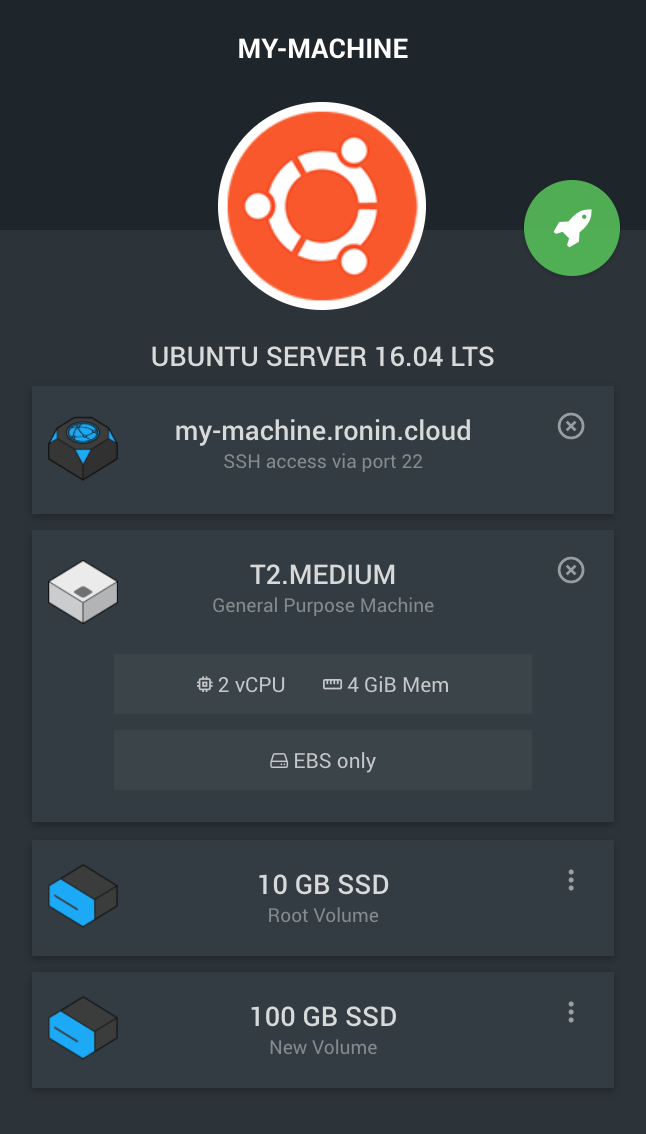
For this example, we are addressing this machine my-machine (imaginative, I know!). When we launch this machine, the full address it will be accessible from is my-machine.ronin.cloud
This will take care of all the networking internally and externally... you're welcome 😄
You can now move onto the next tab - 3. MACHINE TYPE
Step 4 - Pick a machine size.
For this example, we will pick Medium size
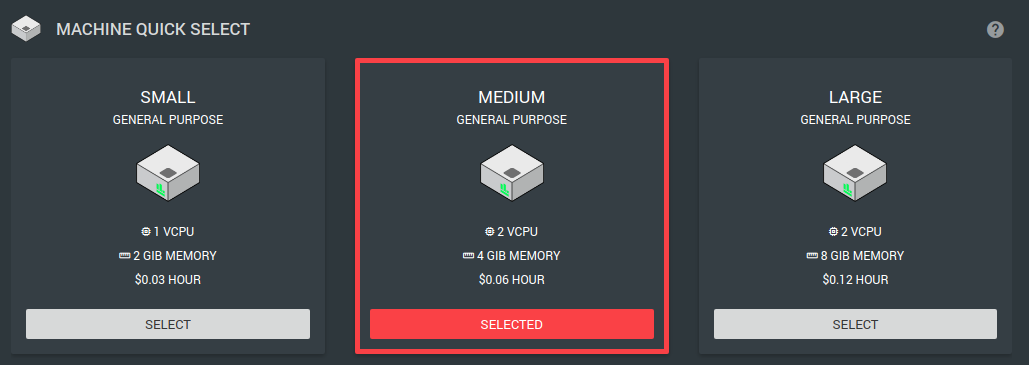
Don't worry about getting this wrong. It's incredibly easy to change the type of machine later if your needs change.
If you're looking for a particular machine, in the bottom section of the 3. MACHINE TYPE section is the Advanced options. Click on one to expand, and choose from the various types of machines.
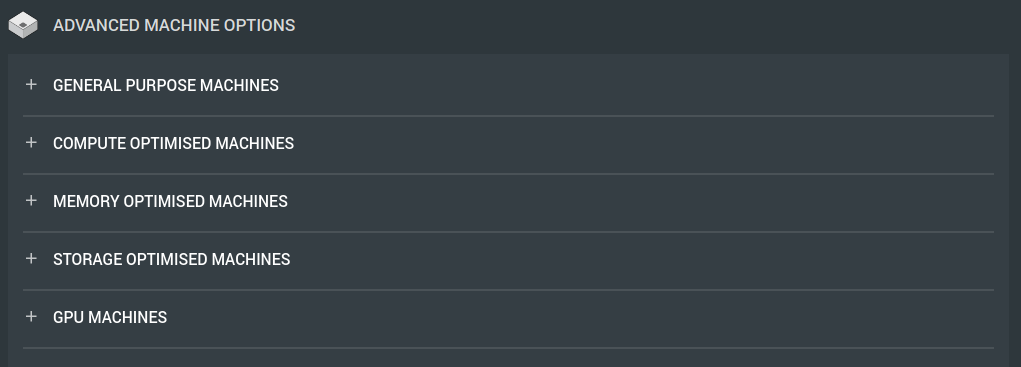
Once selected, you can move onto the next tab 4. STORAGE
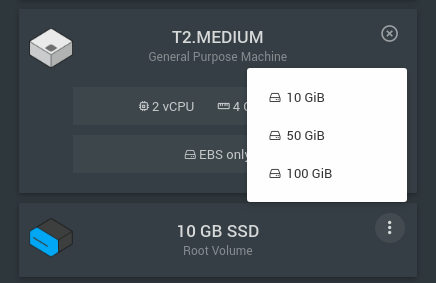
Step 5. (Optional) - Add additional storage.
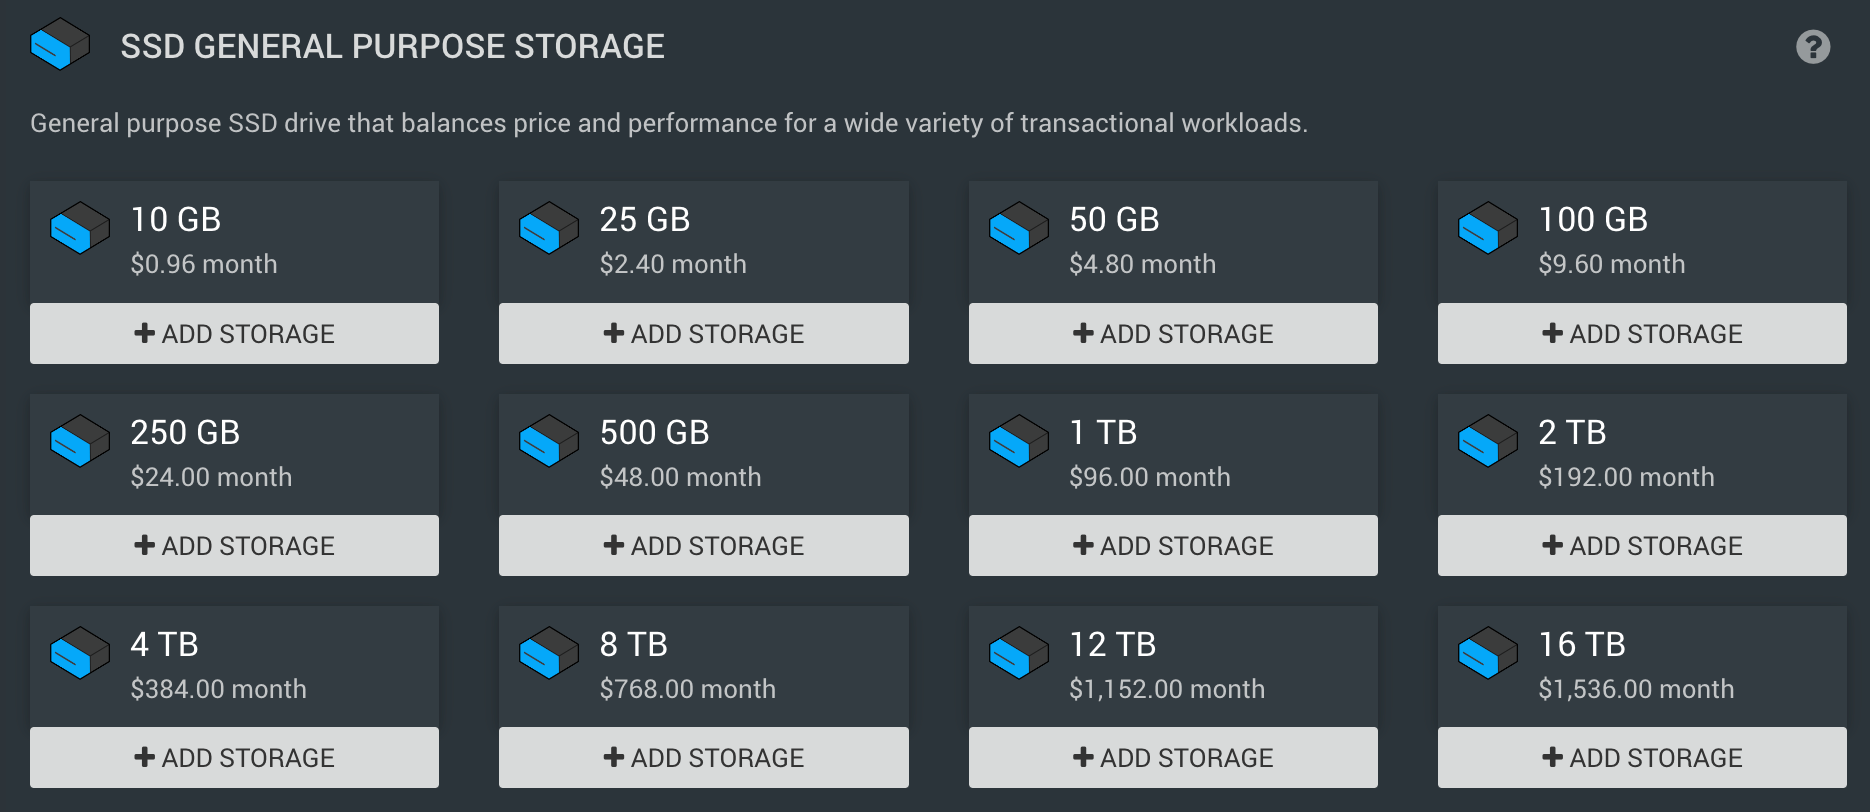
Again, RONIN provides you with a variety of sizes for the most popular storage type - a general purpose Solid State Drive. In this example we have added a 100GB drive.
You will notice in the Machine Summary card two volumes, the Root Volume, and the 100GB SSD we just added.
The Root Volume is where your Operating System gets installed. You can increase the size of this by clicking the next to the volume shown here.
For more info on storage here
Step 6 - Click the Launch Button!
Once you're happy with your machine selection, select the green launch button on the machine card.
The Launch Machine modal will now appear.
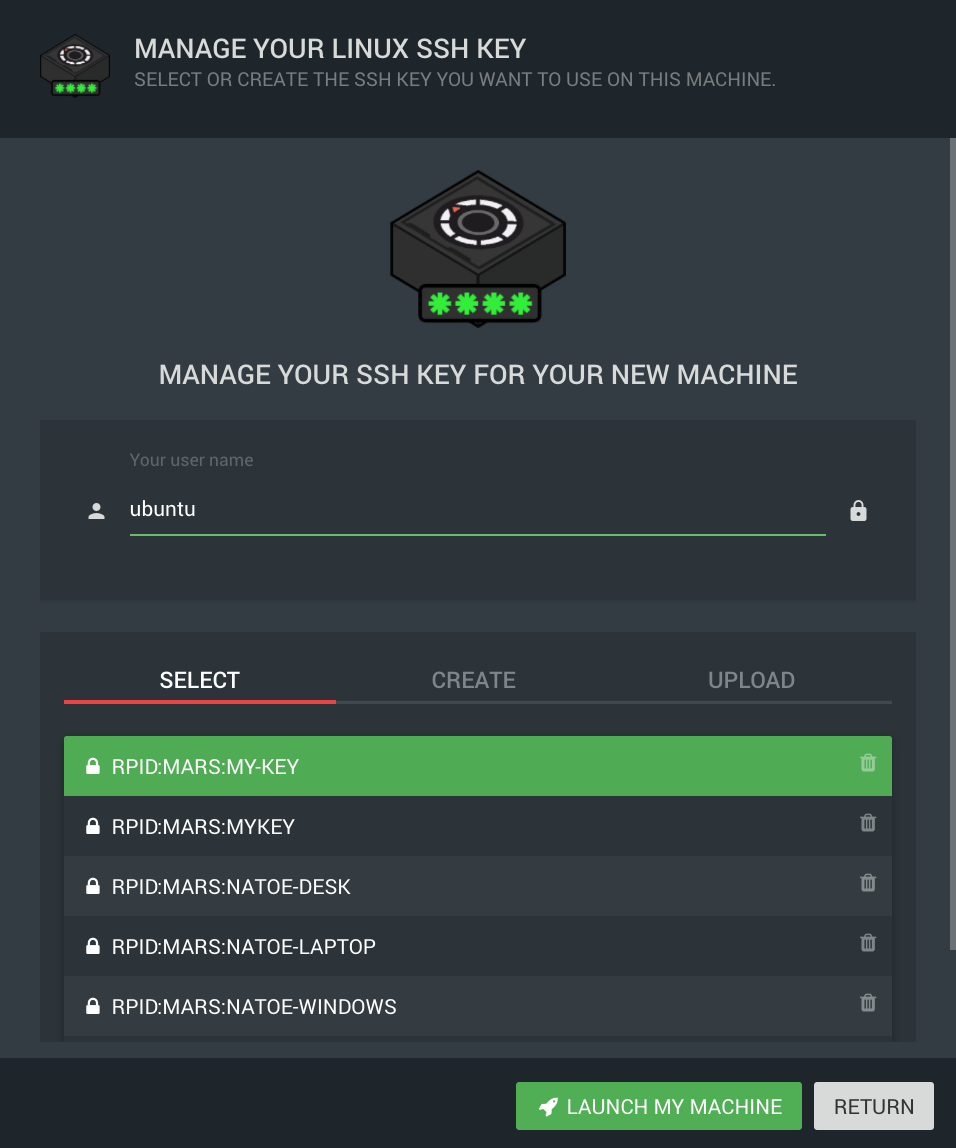
Step 7 - Secure your machine
For Linux based machines, you will need to create a secure key to connect to your machine via SSH.
For Windows based machines, you will be able to set a password for your machine of your choice to connect via RDP.
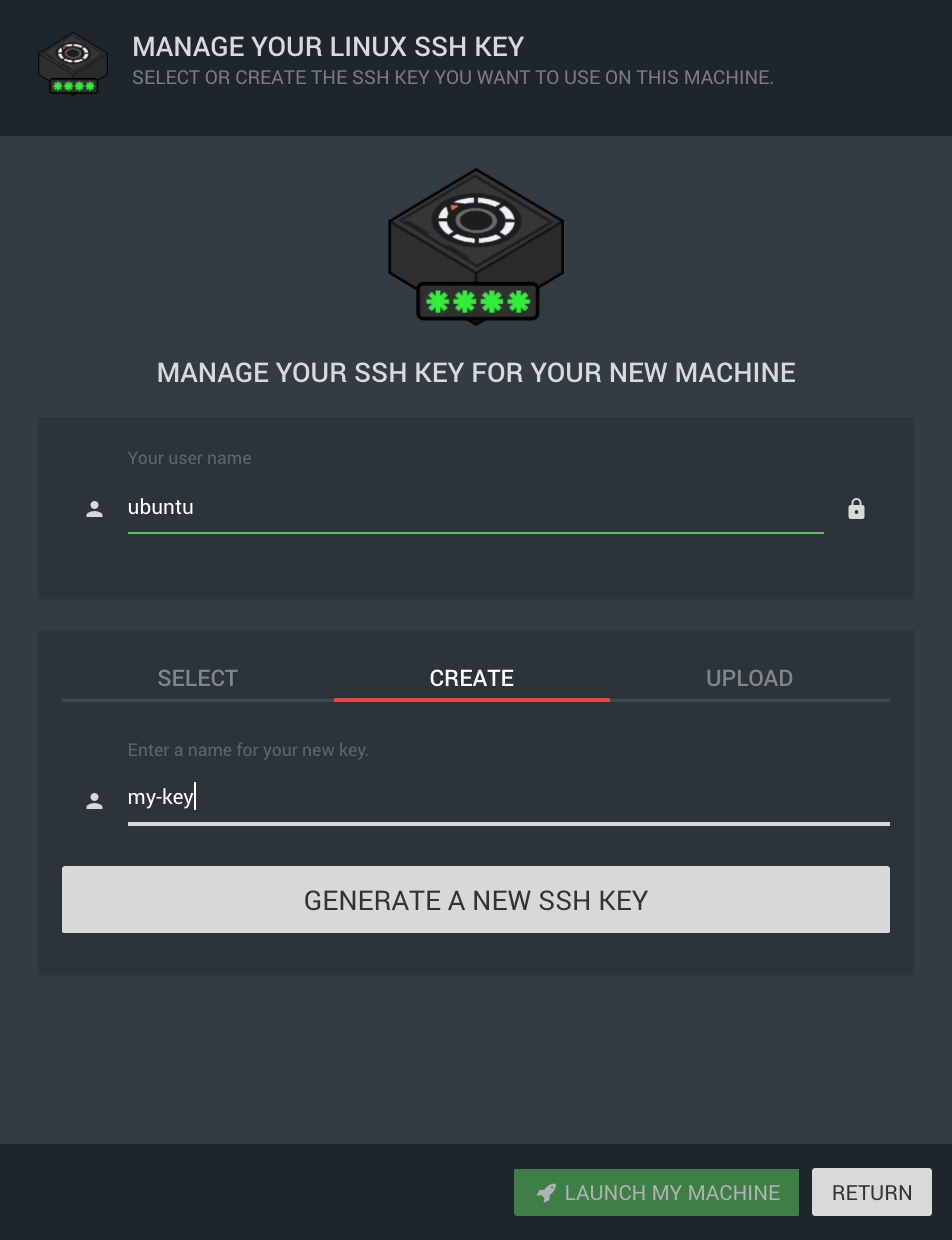
For this Ubuntu example (Linux Based), we will need to create a secure key.
SUPER IMPORTANT WARNING BEFORE YOU START!!!
SSH keys work similar to real world keys, so whoever has a copy of your key has full access to your machine, so be really careful where you store it and who you give it to!
Select the Create tab, name your key and select GENERATE A NEW SSH KEY.
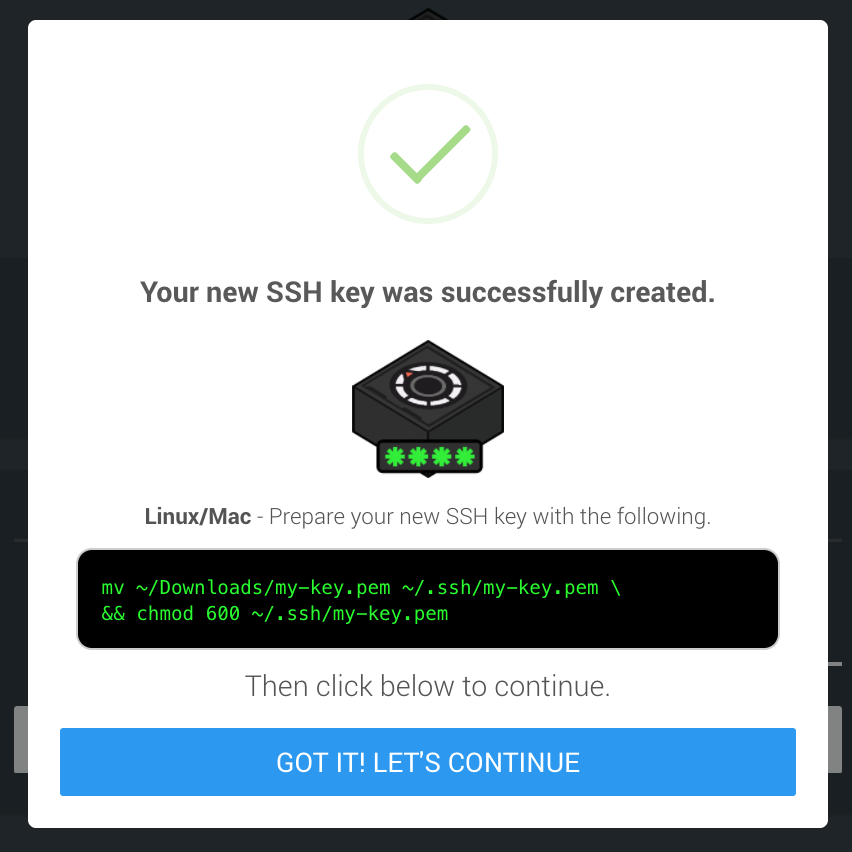
RONIN will download your key to your "Downloads" folder.
You will need this key when Connecting to a Linux (Ubuntu) Machine via SSH. More on that later.
Click GOT IT! LET'S CONTINUE
Step 8 - Launch your machine
Your newly created key will be selected and you are now ready to launch your machine! Select the LAUNCH MY MACHINE button.
Hooray!! Your machine is being launched. Click the SHOW ME MY NEW MACHINE button to see your new machine!
It may take a minute or two for your machine to be ready, so hang in there.
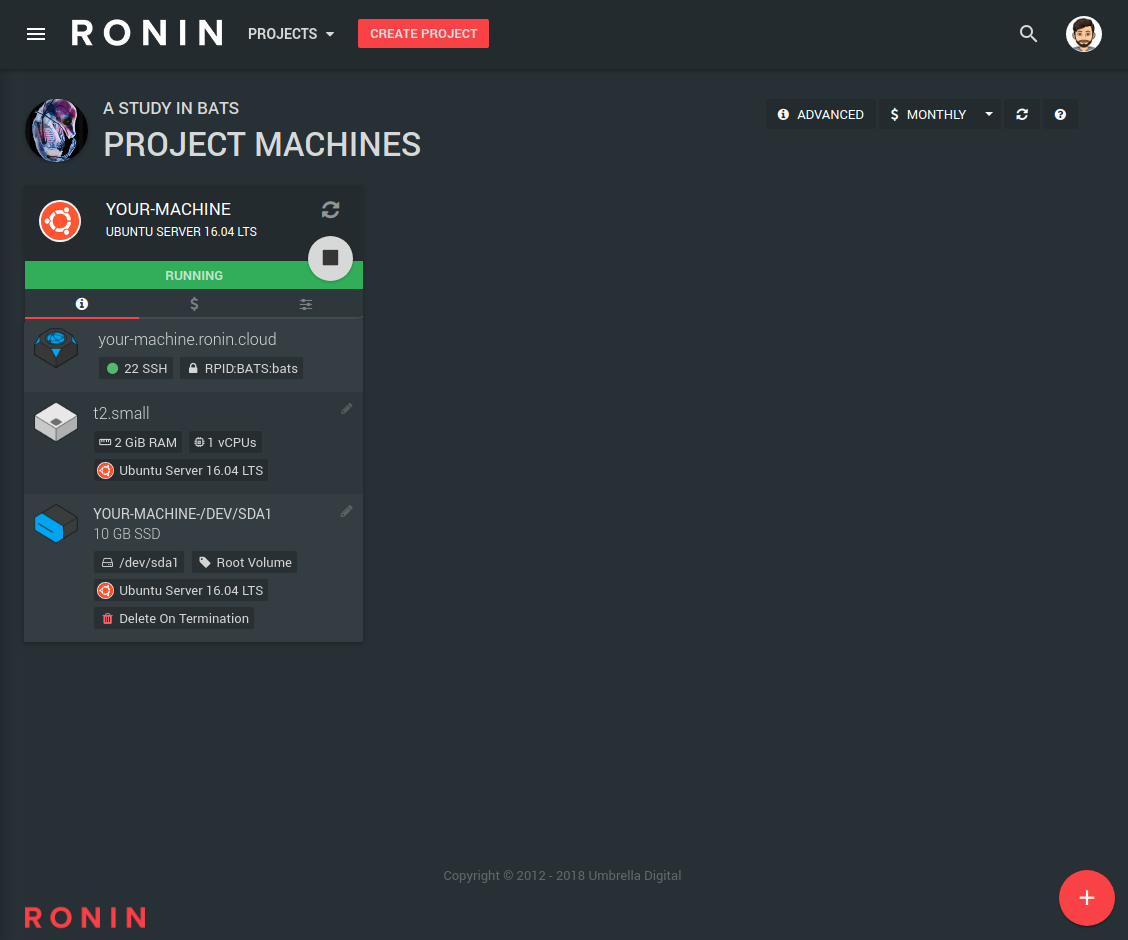
Once your machine is up and running, we can now connect to it!
Next Steps
 Aaron Albrighton