Mounting your object storage bucket as a local filesystem with Mountpoint
AWS has released an open source client called Mountpoint that allows you to easily mount your object storage bucket as a local filesystem. This blog post shows you the pros and cons of Mountpoint, and how to use it.

In a previous blog post we described how an object storage (S3) bucket can be mounted like a filesystem using FUSE. Now AWS has released their own open source client called Mountpoint, that provides a simpler alternative for mounting an object storage bucket as a local file system. Of course, this client is still without the general limitations that are inevitable with object storage, many of which we already discussed in the FUSE blog post. Nevertheless, Mountpoint may be suitable for certain large-scale read-heavy applications including data lakes, machine learning training, image rendering etc.
In this blog post, we summarise some of the main points you should know before deciding whether to use Mountpoint, and then walk you through the steps required to mount your object storage bucket as a local filesystem on your machine with Mountpoint.
Important Considerations
- Mountpoint supports file-based workloads that perform sequential and random reads, sequential (append only) writes, and that don’t need full POSIX semantics.
- Mountpoint can list and read existing files (up to 5 TB in size), and it can create new files. It cannot modify existing files or delete directories, and it does not support symbolic links or file locking.
- Mountpoint enables you to interact with your object storage bucket using shell commands (
ls,cat,dd,find, and so forth), library functions (open,close,read,write,create,opendir, and so forth) or equivalent commands and functions as supported in the tools and languages that you already use. The Linux Virtual Filesystem (VFS) translates these standard operations into calls to Mountpoint, which in turns translates them into standard S3 API calls such asLIST,GET,PUT, and so forth. - There are no new charges for the use of Mountpoint; you pay only for the underlying S3 operations.
- Mountpoint accesses your S3 buckets using the AWS credentials that are in effect when you mount the bucket.
- Mountpoint cannot access files archived in S3 Glacier Flexible Retrieval or S3 Glacier Deep Archive tiers.
- Unlike FUSE, Mountpoint mounts cannot be added to your fstab file so do not persist after stopping your machine. They need to be re-mounted each time the machine is restarted.
Installing Mountpoint
1. Download the correct Mountpoint package based on your machine OS and architecture:
- RPM-based x86_64:
- RPM-based ARM64 (Graviton):
- DEB-based x86_64:
- DEB-based ARM64 (Graviton):
wget https://s3.amazonaws.com/mountpoint-s3-release/latest/x86_64/mount-s3.rpmwget https://s3.amazonaws.com/mountpoint-s3-release/latest/arm64/mount-s3.rpmwget https://s3.amazonaws.com/mountpoint-s3-release/latest/x86_64/mount-s3.debwget https://s3.amazonaws.com/mountpoint-s3-release/latest/arm64/mount-s3.deb2. Install the package:
- RPM-based:
- DEB-based:
sudo yum install ./mount-s3.rpmsudo apt-get install ./mount-s3.deb3. Verify that Mountpoint for Amazon S3 is successfully installed - you should see something like mount-s3 1.0.0
mount-s3 --versionConfiguring Mountpoint
1. If you have previously been using the AWS CLI to access your bucket, you should already have a credentials file on your machine that contains your key information with the required permissions to be able to connect to your object storage bucket (check with cat ~/.aws/config). If this file does not already exist you will need to create it. First, make sure you have generated a Read Only or Read & Write key for your bucket in RONIN. Then, if the AWS CLI is already installed on your machine (check with which aws), you can simply run aws configure and follow the prompts. Otherwise you can manually create the config file by running mkdir ~/.aws && nano ~/.aws/config and then inputting the below details (replacing the secret access key ID, secret access key, and region for your bucket):
[default]
aws_access_key_id=AKIAIOSFODNN7EXAMPLE
aws_secret_access_key=wJalrXUtnFEMI/K7MDENG/bPxRfiCYEXAMPLEKEY
region=ap-southeast-2
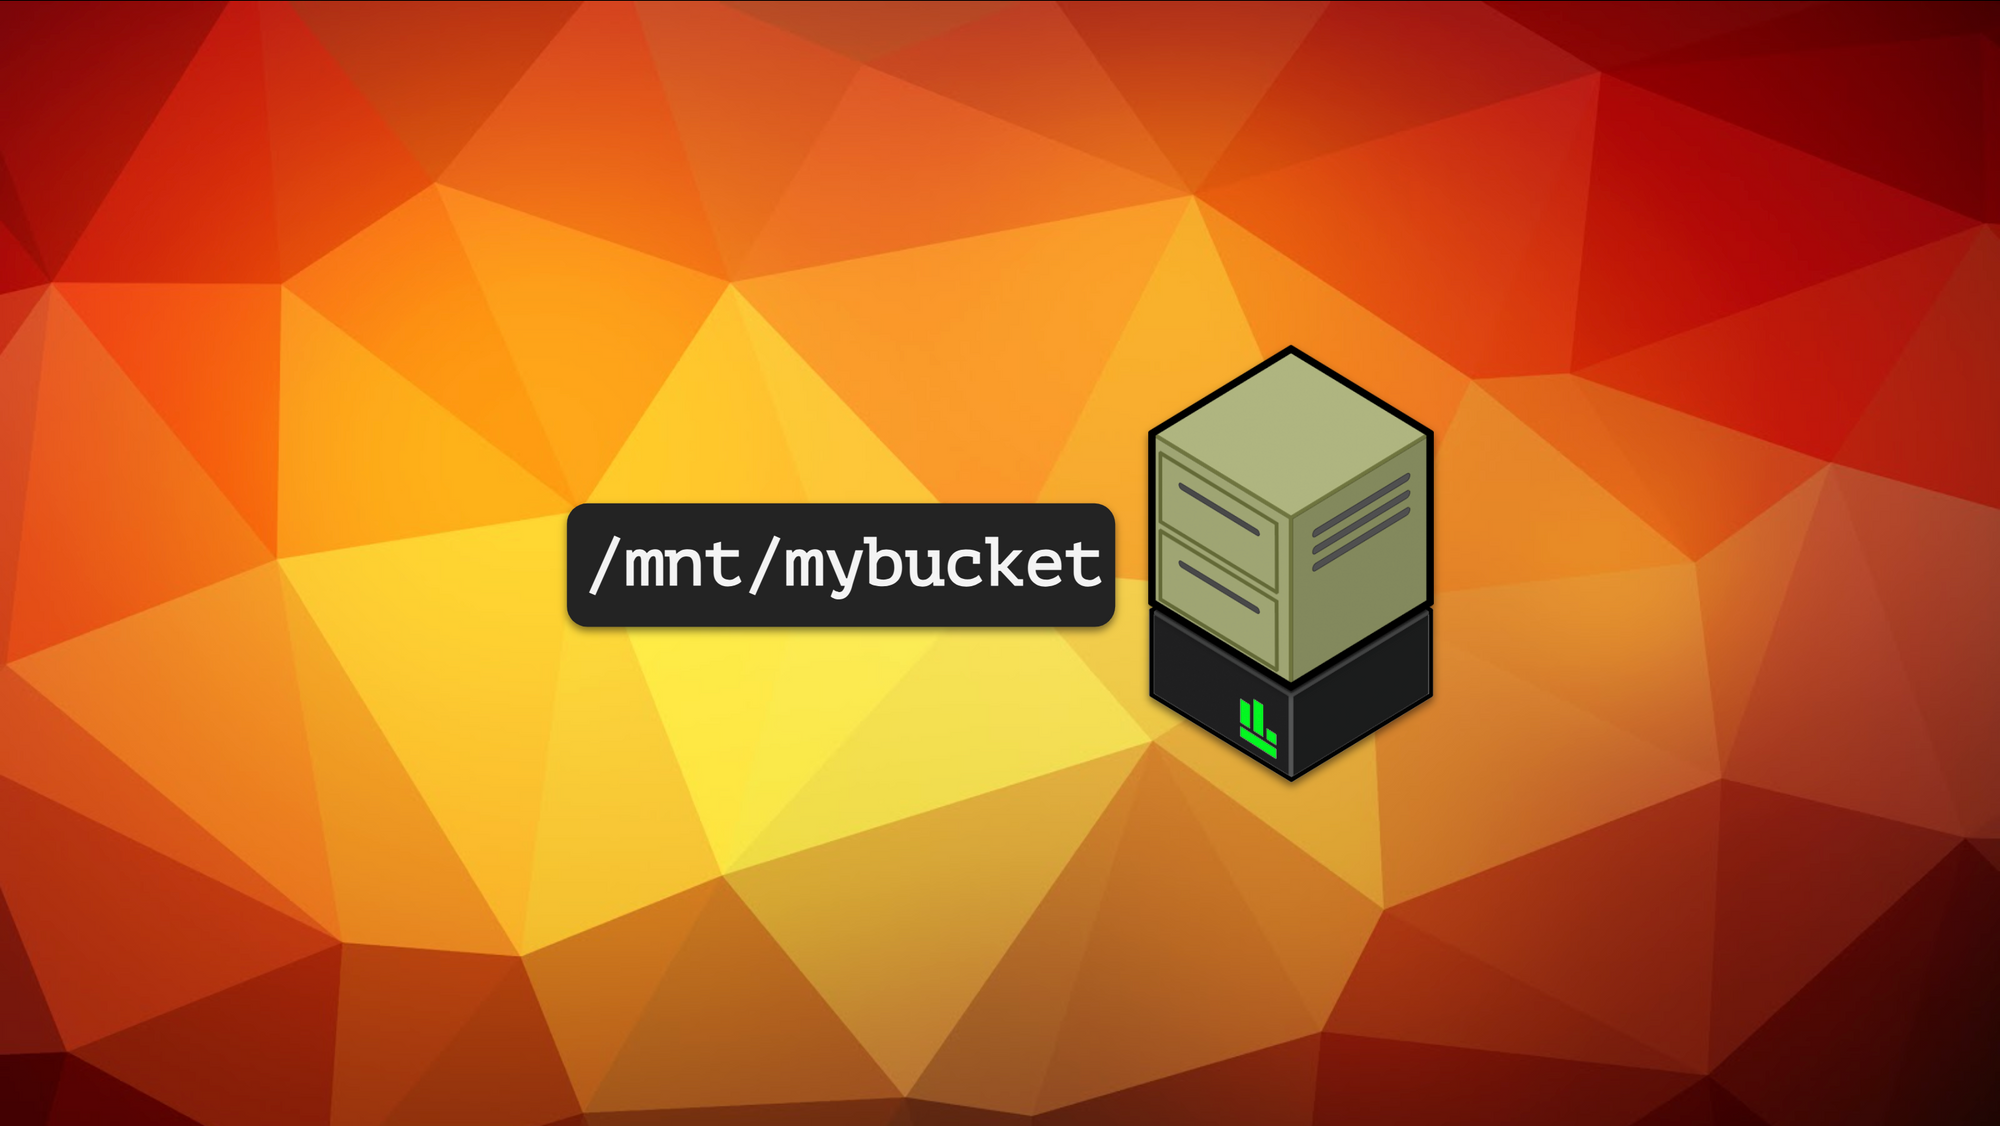
output=json2. Create a new mountpoint for your bucket e.g.:
mkdir /mnt/mybucket3. Mount your bucket (replacing mybucket.ronin.store.cloud with your full bucket path and /mnt/mybucket with your mountpoint from Step 2):
mount-s3 mybucket.store.ronin.cloud /mnt/mybucketNote: Your bucket path can be found by clicking the 3 dots in the top right-hand corner of your object storage bucket in RONIN and then navigating to "Connect Info".
If your bucket mounted successfully you should see a message like:bucket mybucket.store.ronin.cloud is mounted at /mnt/mybucket
Note: To enable deletion of existing files, pass the--allow-deleteflag to themount-s3command
You should now be able to interact with your object storage bucket like a filesystem. For example, running ls /mnt/mybucket would now be the same as running aws s3 ls s3://mybucket.store.ronin.cloud, or cp ~/myfile.txt /mnt/mybucket would be the same as running aws s3 sp ~/myfile.txt s3://mybucket.store.ronin.cloud. Remember, you can read files, and write new files to this folder, but not modify any existing files. For more information please refer to the official Github documentation here.
If you ever wish to unmount your bucket, just run:
umount /mnt/mybucketNote: Any of these Mountpoints will not persist when the machine is stopped. If you would like your bucket/s to automatically mount when the machine is started you will need to either set up a cron job or a systemd service.