Instructions for Your Detailed Project Billing Report
To make life easy, we’ve created a simple step by step guide to help you generate one of the most useful reports in your AWS console - your own RONIN Project ID (RPID) report.

By grouping and filtering costs, you can examine RONIN spend in many ways that leverage RONIN's account orchestration. In addition to the RONIN Administration Budget Management screen, which gives you a moment in time breakdown of project costs, you can examine these costs historically.
1. Log in to the AWS account in which RONIN is installed so that you can see the console. If you have never used AWS Cost Explorer before, you will need to enable it.
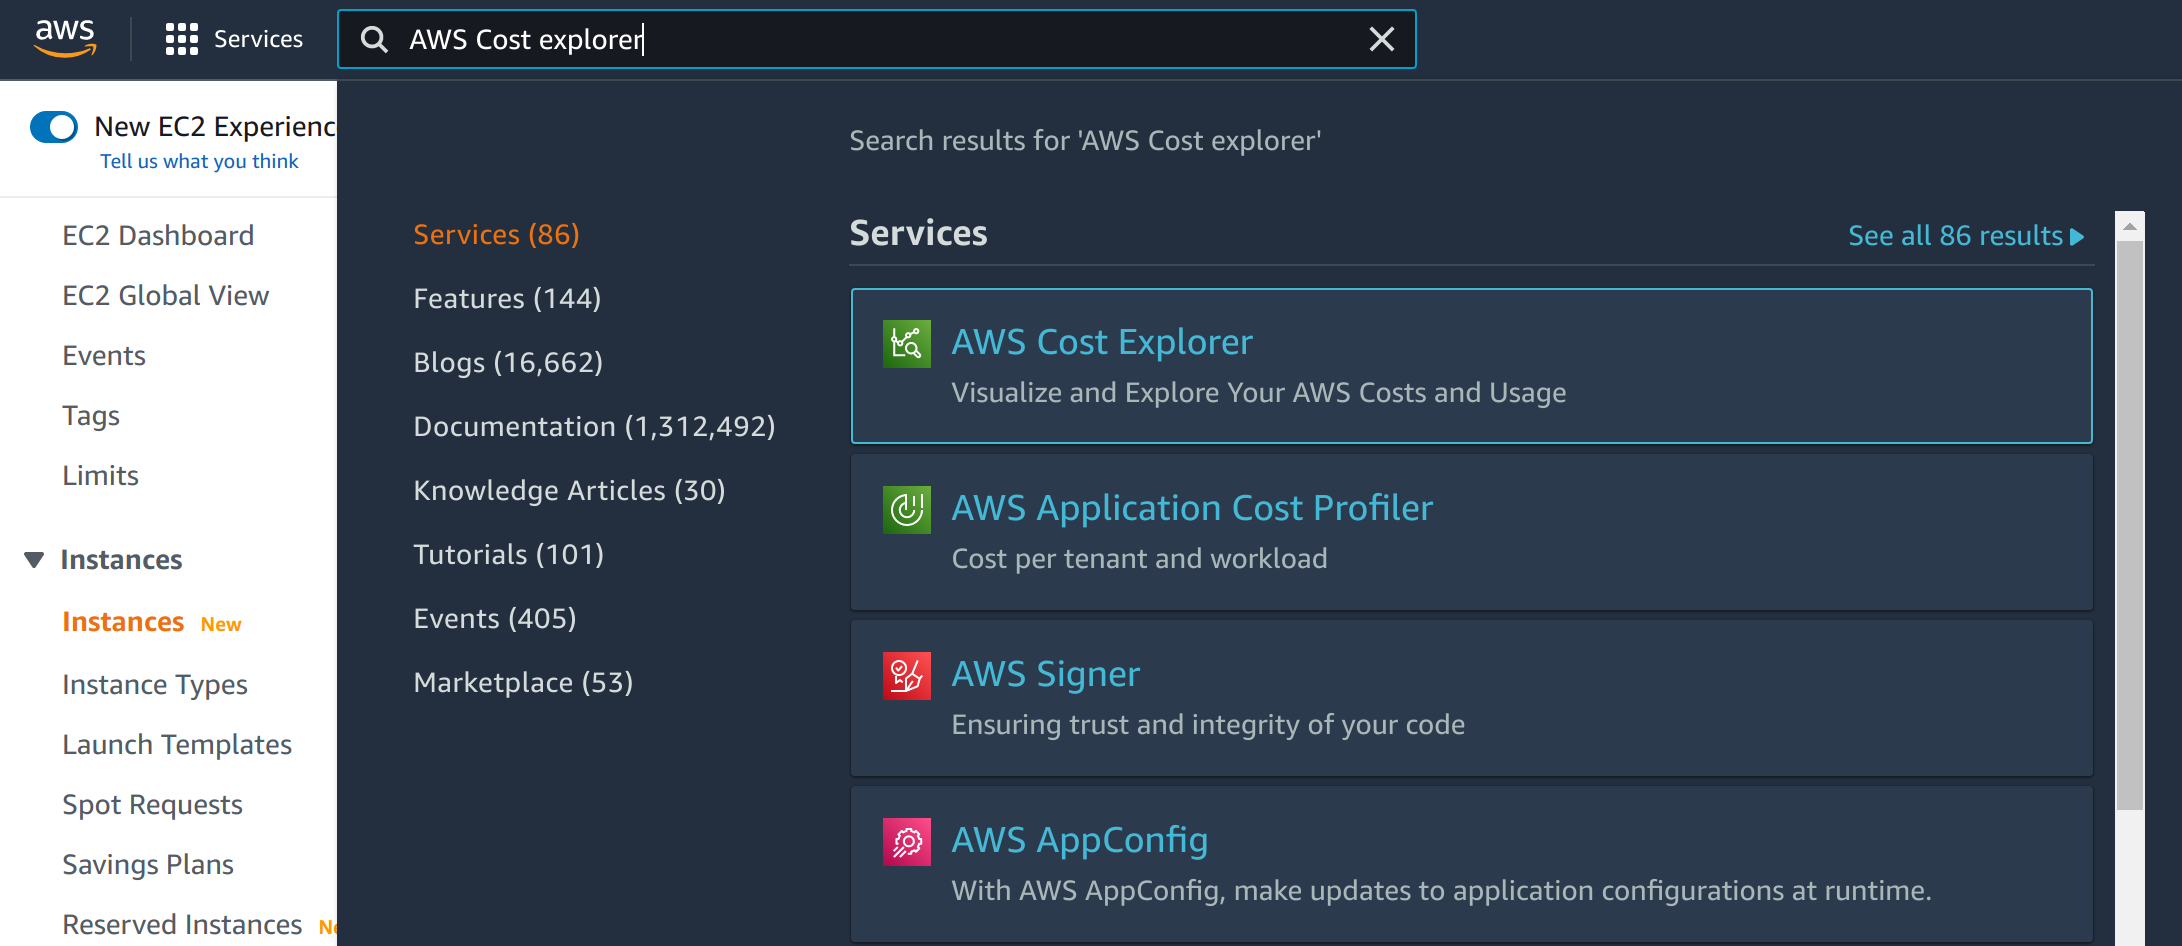
2. Search for AWS Cost Explorer in the search bar at the top left side of the screen and select it from the list of services.
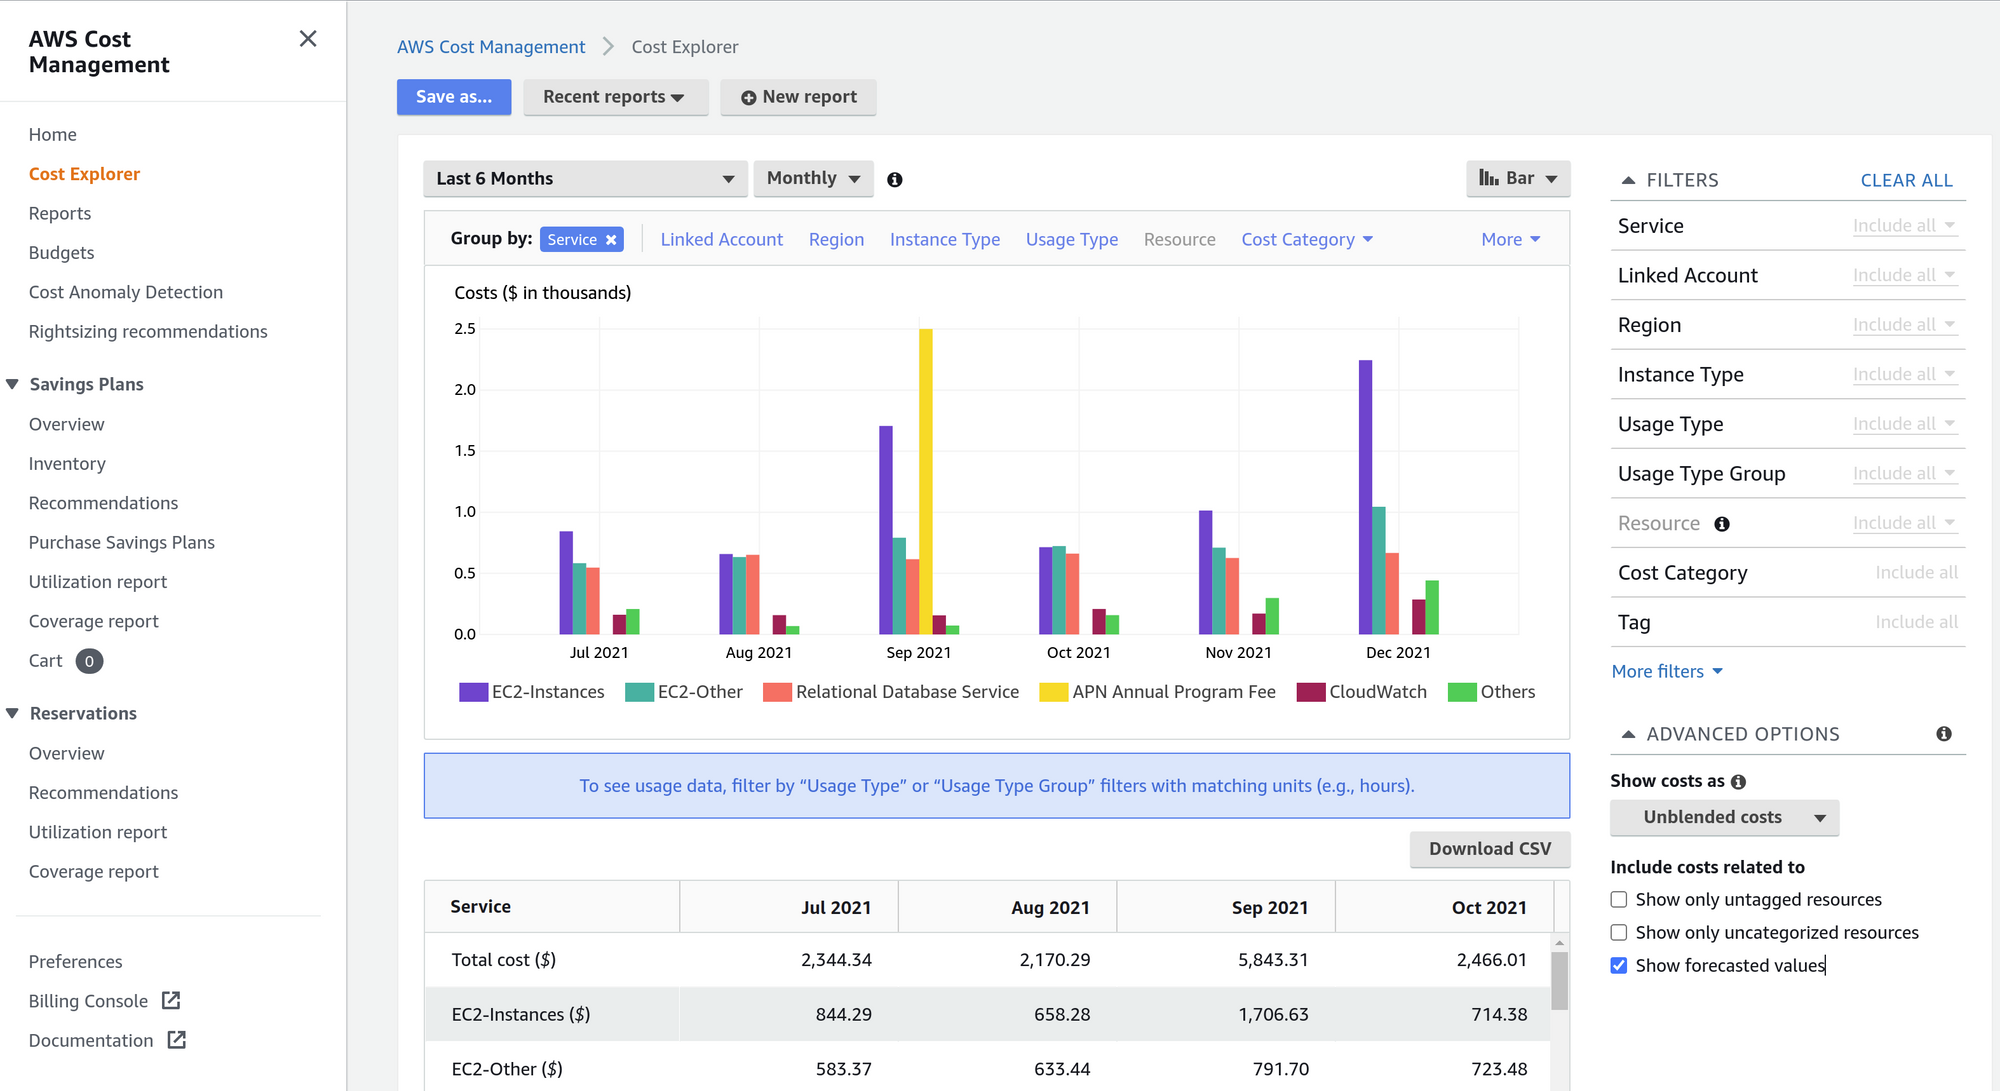
3. You will see a default report. To customize this report, navigate to Cost Explorer in the menu on the left hand side. Now you will see a monthly breakdown of services over the last 6 months (Figure 1).
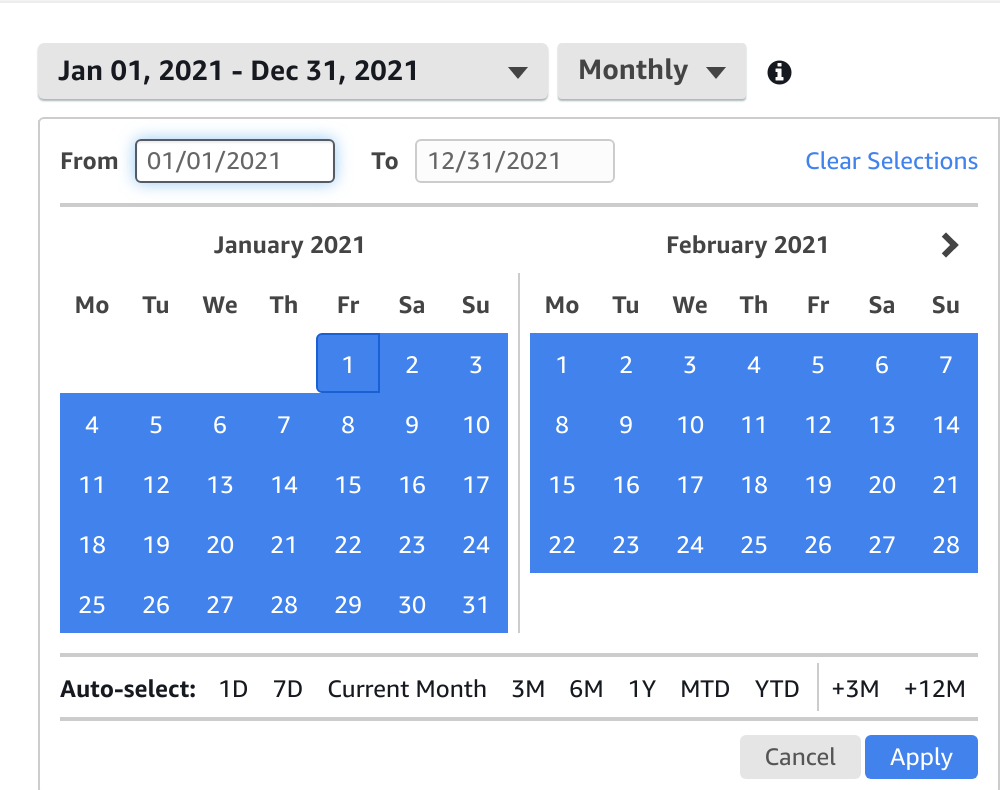
4. Select the time period for your report by either an option in the drop down menu or by selecting the start and end dates, then hit Apply (Figure 2).
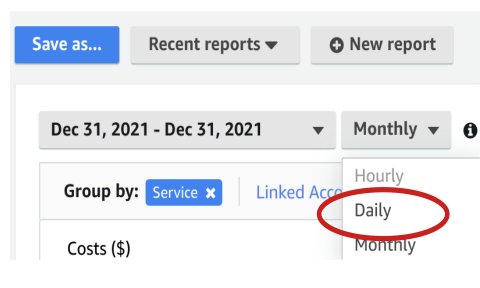
5. For a daily spend breakdown, select Daily from the drop down menu (Figure 3).
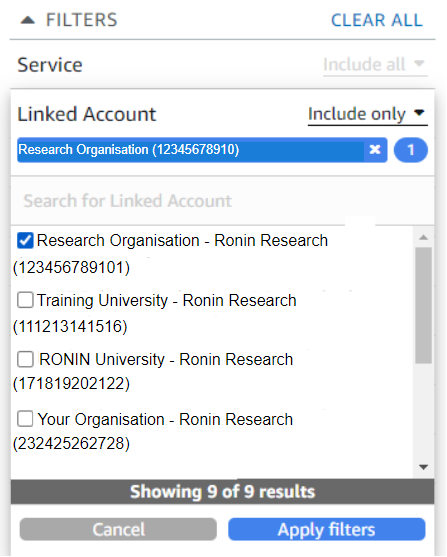
6. Now you can use tags to filter and break down costs as you wish. For example, to see a monthly breakdown of cost by project, remove the group by service flag and choose instead to group by Tag-> RPID (under the Tag menu option, or if you do not see it, the More pulldown, Figure 4). RPID is the tag for the RONIN project ID, so this will break down spend by project. By filtering specific tags under Filters on the right hand side, you can limit your view to certain projects of interest. Other particularly interesting tags that you might use for grouping are billing codes (billing_code and purchase_order) and creator (created_by).
7. You can then export your report data using the Download CSV button.
Tadaa! You're all caught up 😄