Create an Auto Scale Cluster
Auto Scale Clusters in RONIN are your very own High Performance Computers that automatically scale by CPU's as workloads get more intensive. They're really easy to fire up. No, really!
Now that you've written some awesome code, it's time to get serious. You need some massive firepower to get the job done, you need it now, but you also don't want to pay an arm and a leg for it.
Introducing Auto Scale Clusters!
An auto.. scale.. wha...?
Auto Scale Clusters in RONIN are your very own High Performance Computers that automatically scale by CPU's as workloads get more intensive.
They're really easy to fire up. No, really!
Lets get started
First, navigate to the Auto Scale Cluster page in RONIN and click + NEW AUTOSCALE CLUSTER
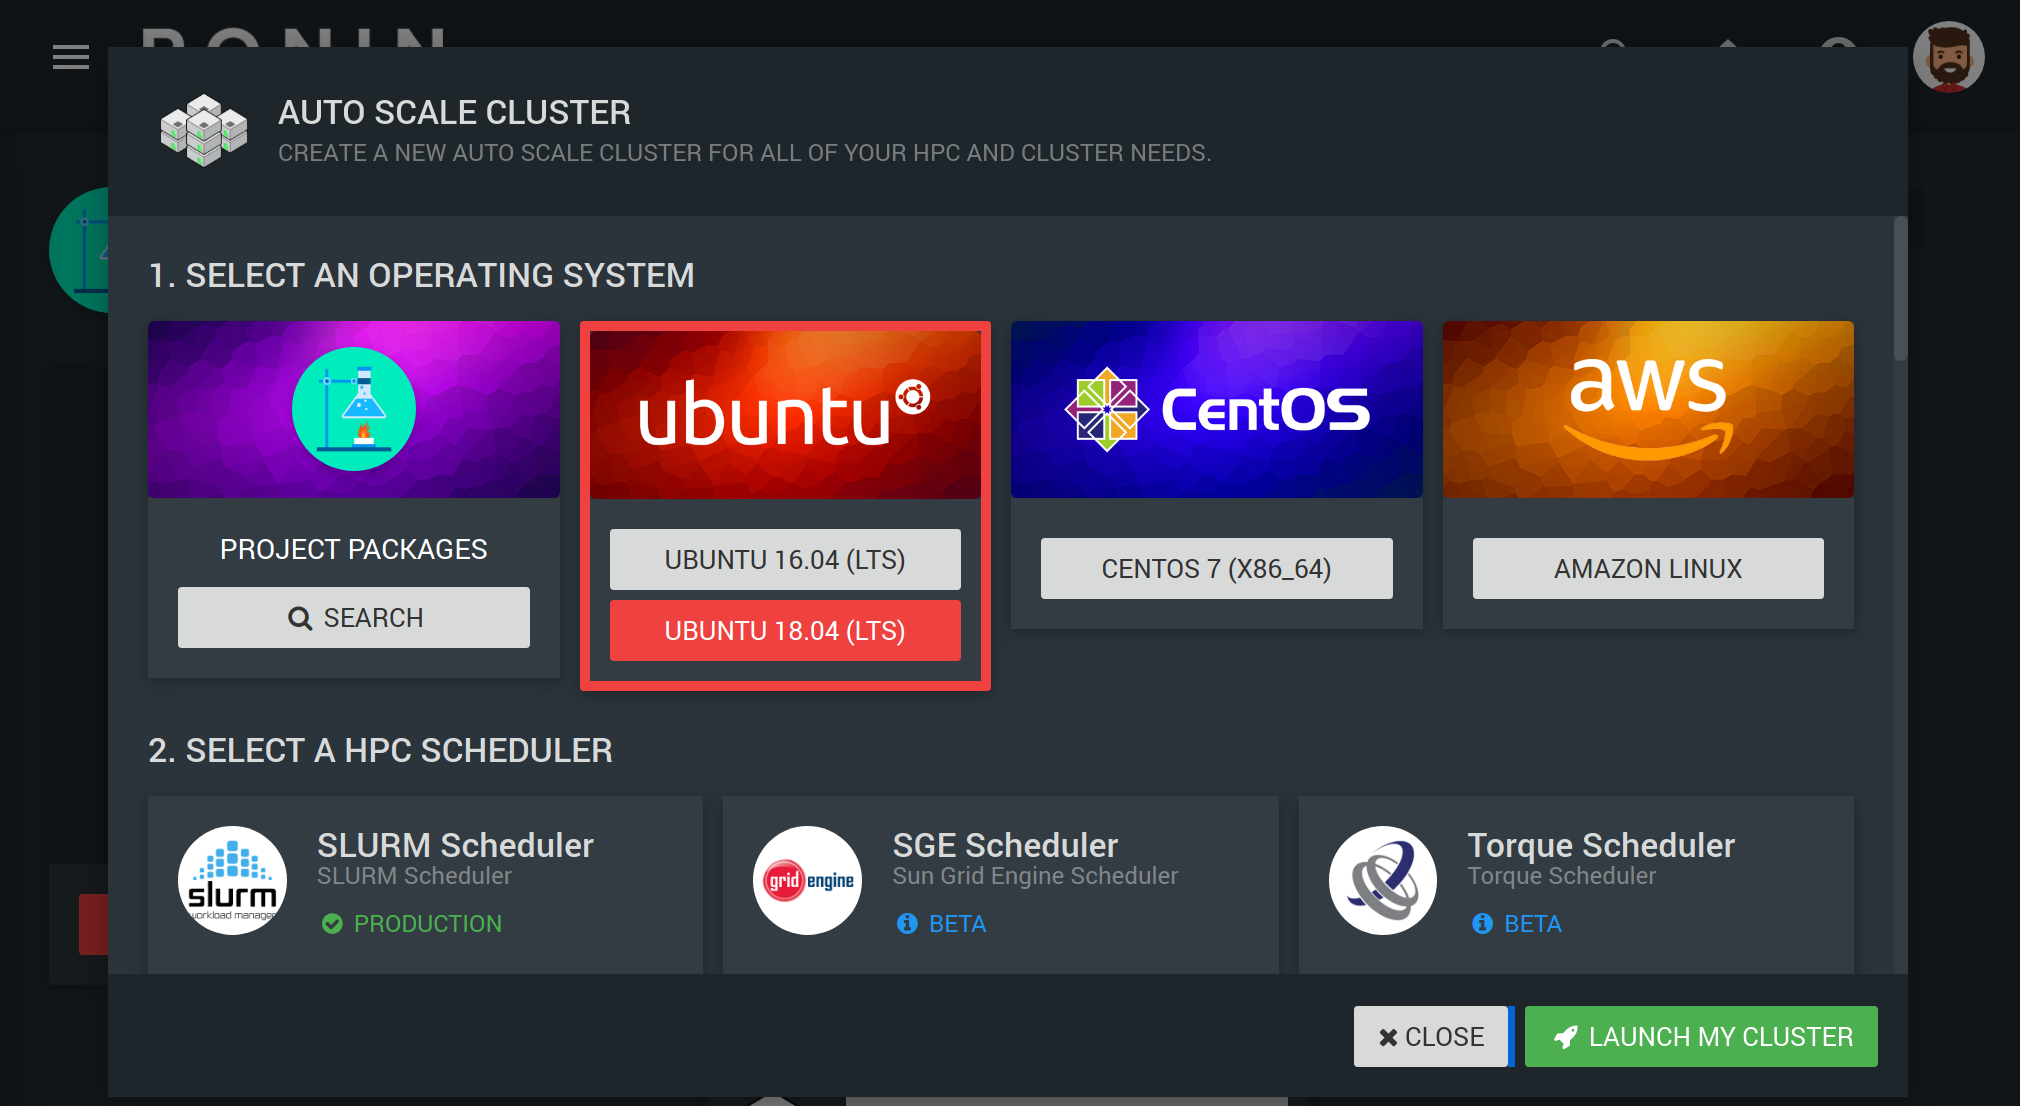
SELECT AN OPERATING SYSTEM

We offer up the most popular operating systems for HPC work. In this example it is Ubuntu 18.04.
SELECT A HPC SCHEDULER

Select one of the three most requested schedulers to work with. We have chosen SLURM in this example.
ADDRESS YOUR CLUSTER

Make this cluster available with a friendly address. This address will be how you SSH to your machine with RONIN LINK. We will connect to example.ronin.cloud.
SELECT YOUR HEAD / COMPUTE NODES

Here you can choose your hardware. Note that the head node will be running all the time. Depending on your requirements, you might want to select a small head node for interacting with, but large compute nodes for the processing power!
SELECT YOUR APP STORAGE

The cluster will have two drives that you can resize if you need. These will be available to your head and compute nodes. The first is for App storage; this is where applications should be installed for all the cluster nodes to see them. For example, Spack will install software in this directory.
SELECT YOUR SHARED STORAGE

Shared storage is a good place for you to write your results.
SELECT YOUR SSH KEY

Secure your cluster with a SSH Key. Here you can create a new key, upload a key, or select a key you have used previously.
SELECT THE SCALING OPTIONS FOR YOUR COMPUTE NODES

This option allows you to specify the minimum and maximum number of compute nodes you want to create.
- Min Machines (0 - 120) - How many machines you want running and ready when you start the cluster.
- Max Machines (1 - 120) - How many machines you want your cluster to grow to as jobs are submitted.
USE AMAZON SPOT MARKET (OPTIONAL)
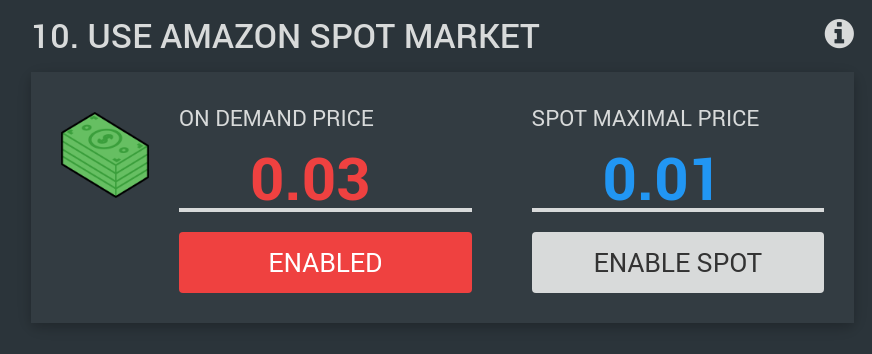
The Amazon Spot Market is a way for you to score cheaper hardware, by specifying the maximum that you are willing to pay for extra capacity.
On Demand - The retail cost price of your hardware. It is available 24x7 and will always be there when you need it.
Spot Maximal Price - The maximum price you're willing to pay for each compute node. Note that with the Spot market you ALWAYS take the risk that your nodes will be reclaimed and terminated, even if you are willing to pay more than the on demand price. However, if your code can handle lost compute nodes, you may get the job done for up to 9 times cheaper!
REVIEW CLUSTER POTENTIAL
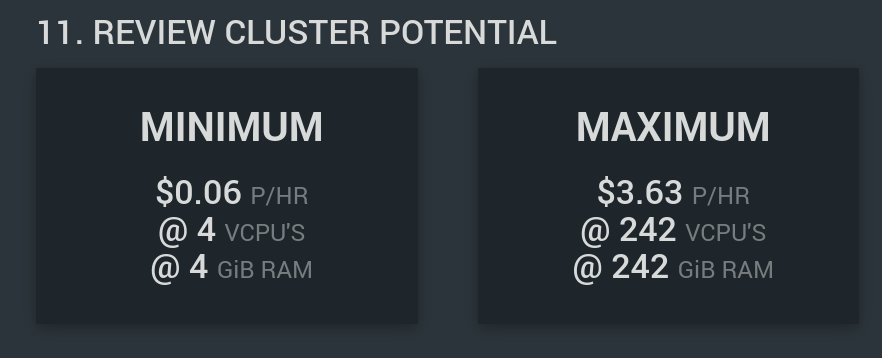
A quick summary of your cluster's potential!
In this example, for your very own HPC Cluster (this one is fairly tame) it will cost 6 cents per hour while you're not using it, but when you've maxed it out, you have 242 VCPUs at your disposal!
SELECT ADVANCED OPTIONS
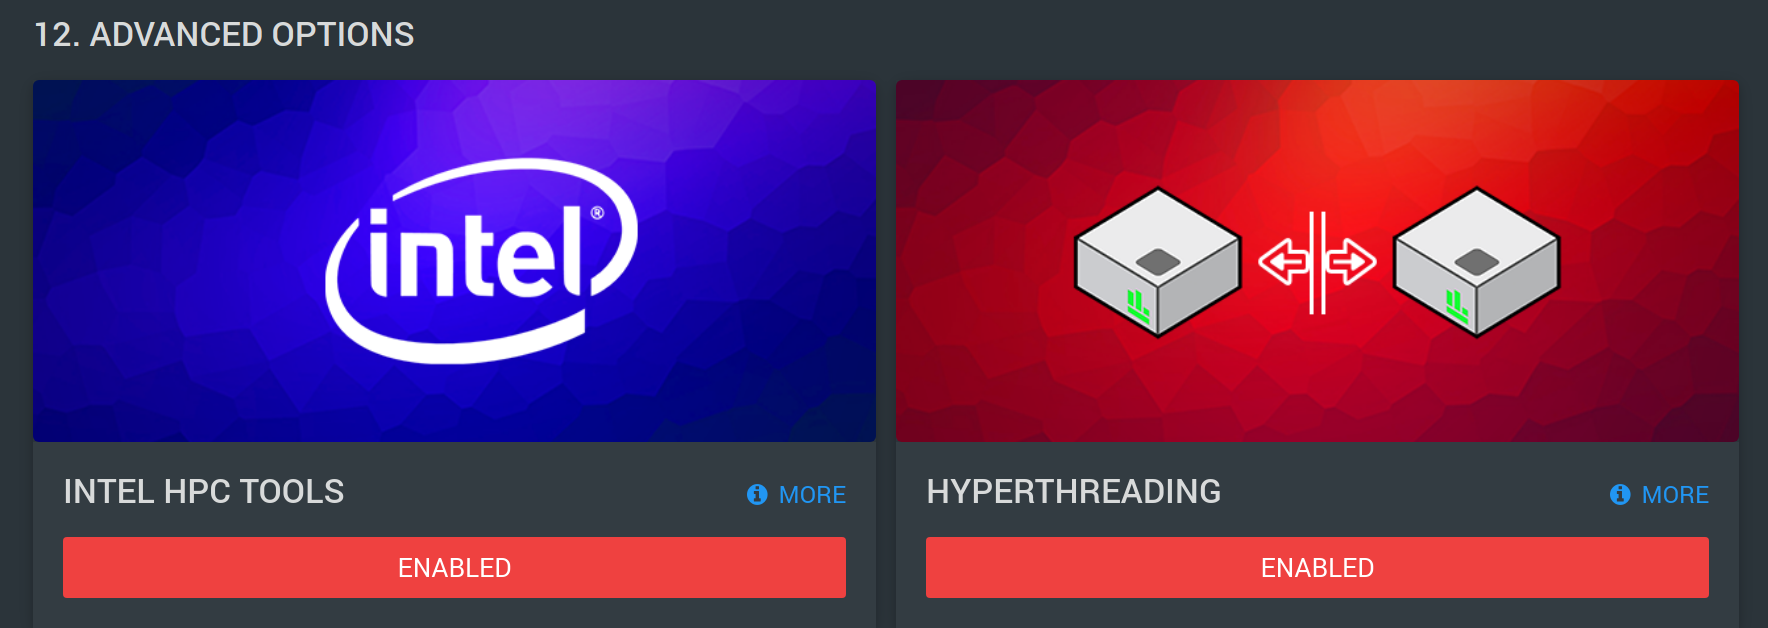
If you are trying to get the highest performance possible out of your code, you can enable Intel HPC tools or disable hyperthreading in the advanced options settings.
REVIEW FORECASTED SPEND WITH CURRENT SETTINGS
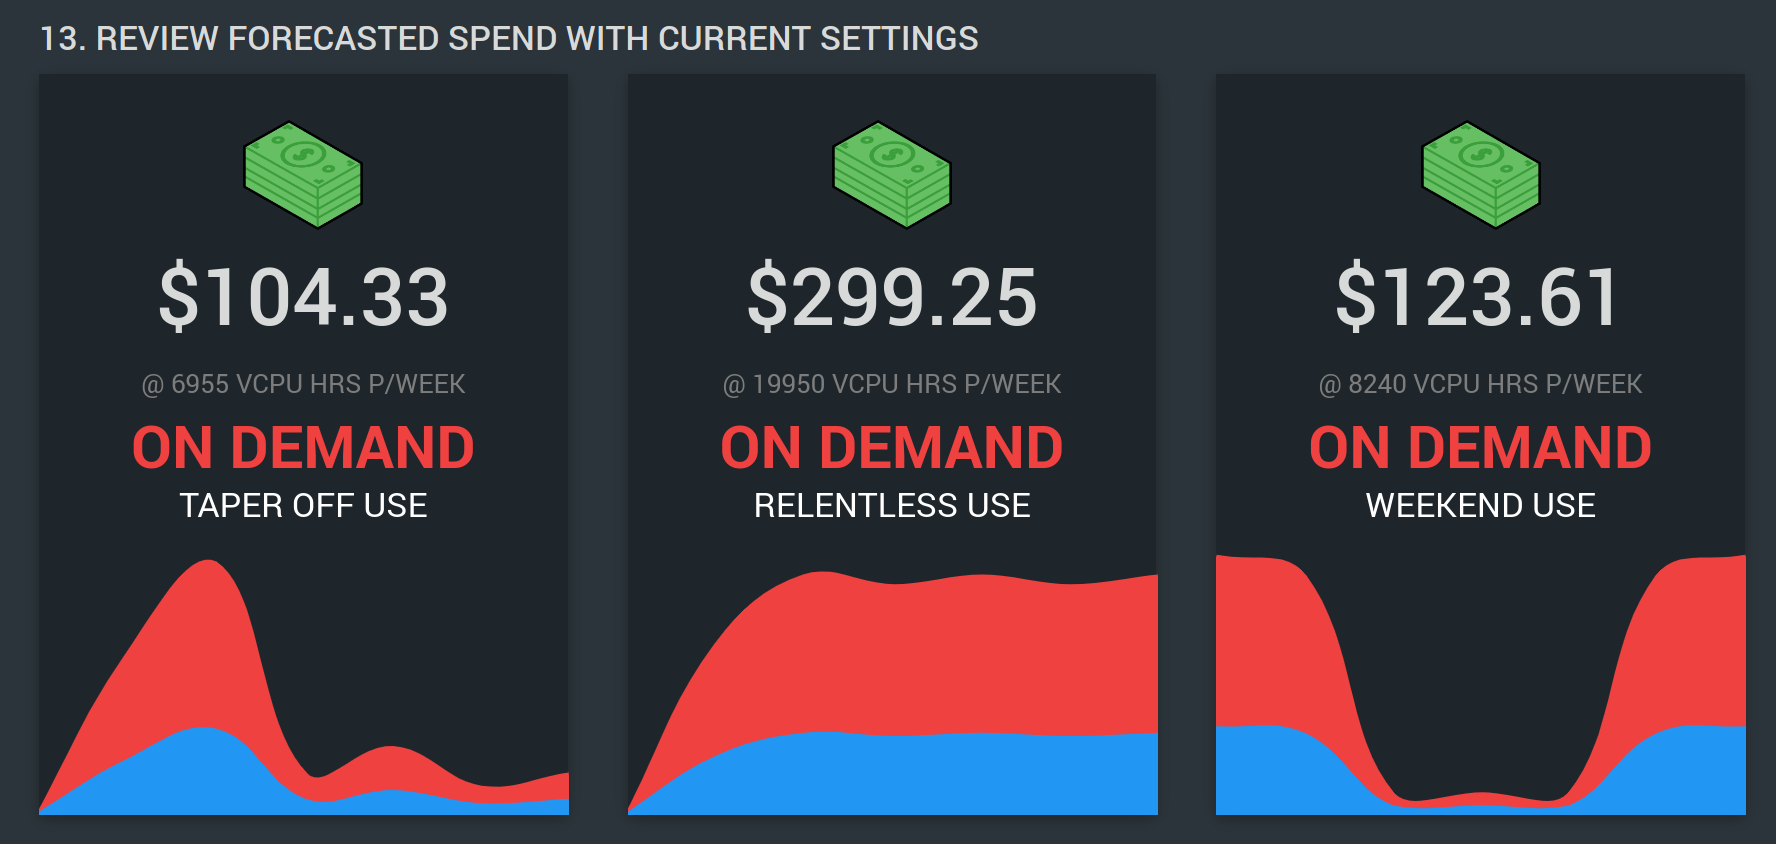
At the bottom we try to show some estimated costs based on typical usage. This is so you know how much it will cost before committing, and prevent a nasty bill you weren't ready for.
LAUNCH CLUSTER!
Whew! That was a lot to take in.
Once you're happy with your choices, hit the LAUNCH MY CLUSTER button!
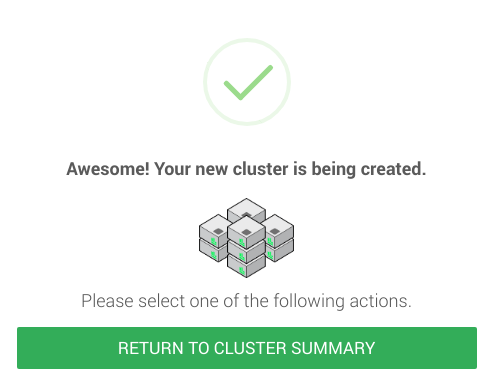
Return to the cluster summary, and you will see your new cluster come alive in a few minutes.
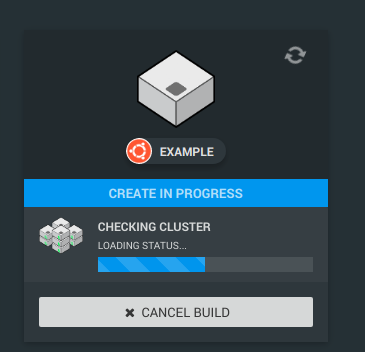
And when it does, you will see a card like this!
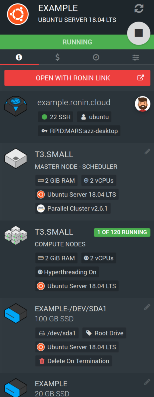
Well done! Want to learn more about clusters? Check out the collection of blog posts below:
