Life's Too Short to Troubleshoot Windows - a RONIN guide
Tired of troubleshooting Windows issues? This guide shows you how to quickly grab your data from a broken Windows machine by moving its root drive to a fresh RONIN server.

We've all been there: staring at a frozen screen, battling cryptic error messages, or worse, a server that simply refuses to boot. Troubleshooting Windows, especially in the cloud, can feel like a Sisyphean task. Cloud environments introduce another layer of complexity. The hypervisor, the software managing your virtual machines, can sometimes be overzealous, potentially halting a machine mid-process, leading to data corruption and a whole host of problems. Life's too short to spend it wrestling with these issues.
Fortunately, RONIN offers a streamlined approach to recovering from Windows server woes in the cloud. Instead of painstakingly trying to repair a broken OS, RONIN lets you detach the root drive from the problematic instance and attach it to a new, clean one. Think of it as a quick and efficient digital transplant.
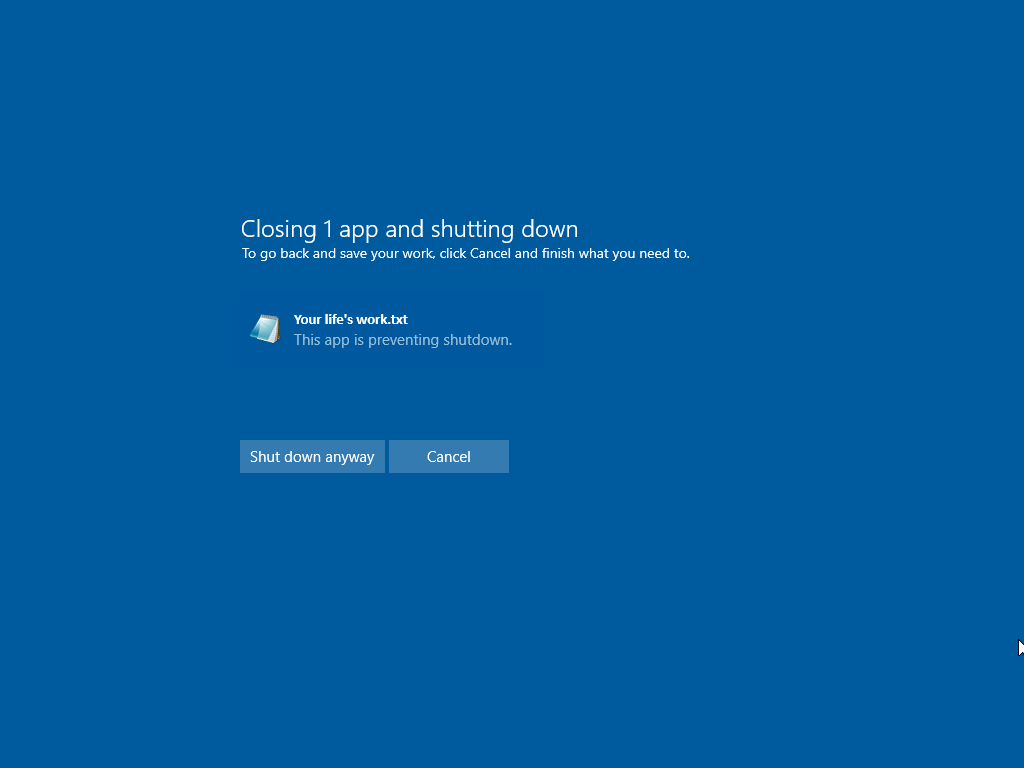
Our broken Windows machine.
Highlighted on the left, you can see we have a broken Windows machine. Let's fix this the easy way.

Create a new machine page
First you will need to create a new Windows server. Select New machine from the left navigation menu.

Select your version of Windows
Select Windows in the operating system tab. This may look different in your RONIN environment, if you need help, reach out to your RONIN administrator

Give it an address
Give your machine an easy to remember address.

Choose a machine type and click the rocket!
Choose a machine type. You might want to increase the size or power of your server here, as sometimes under provisioned machines can cause issues in Windows

Add a password
Give your machine a password, then click Create machine at the bottom of the page. You might want to grab a drink, this will take a few minutes

Our new Windows Server in RONIN
Here's our new Windows server on the right in the machine summary page. This will be your new machine that we will attach the old root drive to.

Stop both machines
Make absolutely sure both your old, broken machine and the new server are completely stopped. This is crucial for safely detaching the drive.

Navigate to machine settings tab
Go to the settings tab for your old, broken machine.

Click "MANAGE STORAGE"
Click on the "MANAGE STORAGE" button

Click "DETACH"
Now click "DETACH". This will disconnect the root drive from the broken windows server.

Click "CLOSE"
and now you can click "Close" to go back to the summary page

Click the new machines settings tab
Now, switch over to the settings tab for your new RONIN server.

Click "MANAGE STORAGE"
Click "MANAGE STORAGE" on the new windows server.
Click "PROJECT DRIVES"
Click "PROJECT DRIVES" to see the detached root drive

Click "+ ATTACH"
Click "ATTACH" to connect the old drive to the new machine

Click "CLOSE"
Click "CLOSE" to go back to the summary page

Connect to New Machine
Great! Now you can start up the new machine and connect to it using RONIN LINK by clicking the Desktop button

Right click "Windows Logo"
Once you see the familiar windows server screen, Right-click the Windows logo in the bottom left corner.

Click "Disk Management"
Choose "Disk Management" from the menu that appears

Right click the drive we attached
Right-click on the drive that you just attached

Click "Online"
Click "Online" to make the drive available

Click "File Explorer"
Great, now it's ready, head over to file explorer

Double Click "This PC"
Double Click "This PC" in the bottom left of the window

Your old root drive is now here!
Cool! Your old drive should now be visible as a separate drive! Your precious data is inside here.

Awesome! Nice work for getting through this tutorial
Awesome! Nice work for getting through this tutorial. It's important to remember that cloud computing resources are designed to be renewed like this for faster iteration on your projects. By quickly spinning up new instances and transferring your data, you can avoid lengthy troubleshooting and get back to what matters most: building and experimenting. This process also makes it easier to test new configurations or software without risking your primary environment. So go forth and innovate!
RONIN's drive management feature significantly simplifies the recovery process. By detaching and reattaching drives, you bypass the complexities of troubleshooting a corrupted OS, saving valuable time and effort. So, the next time your Windows server acts up in the cloud, remember RONIN. Life's too short to troubleshoot Windows.