Creating New Users
Now you have your shiny new RONIN you need to fill it up with users.

Now you have your shiny new RONIN you need to fill it up with users.
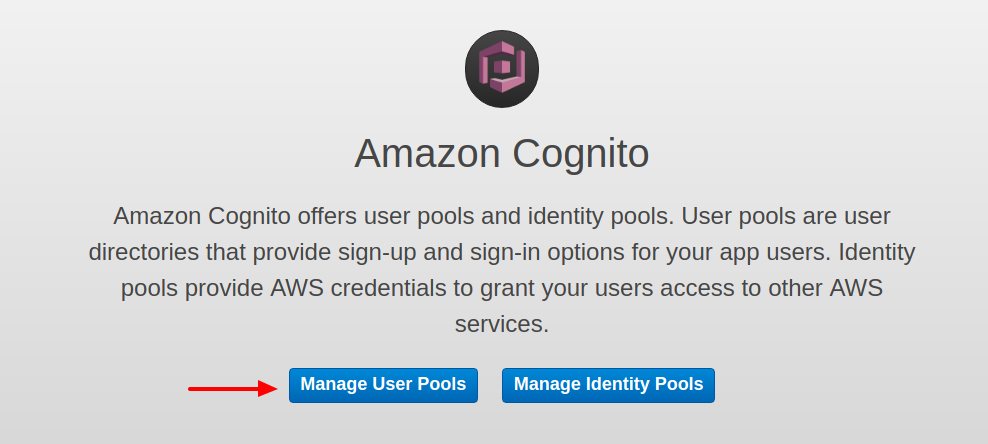
Step 1 - Login to your AWS account and head to Cognito.
Go to your AWS account that RONIN is install on and head to the cognito service and select "Manage User Pools".

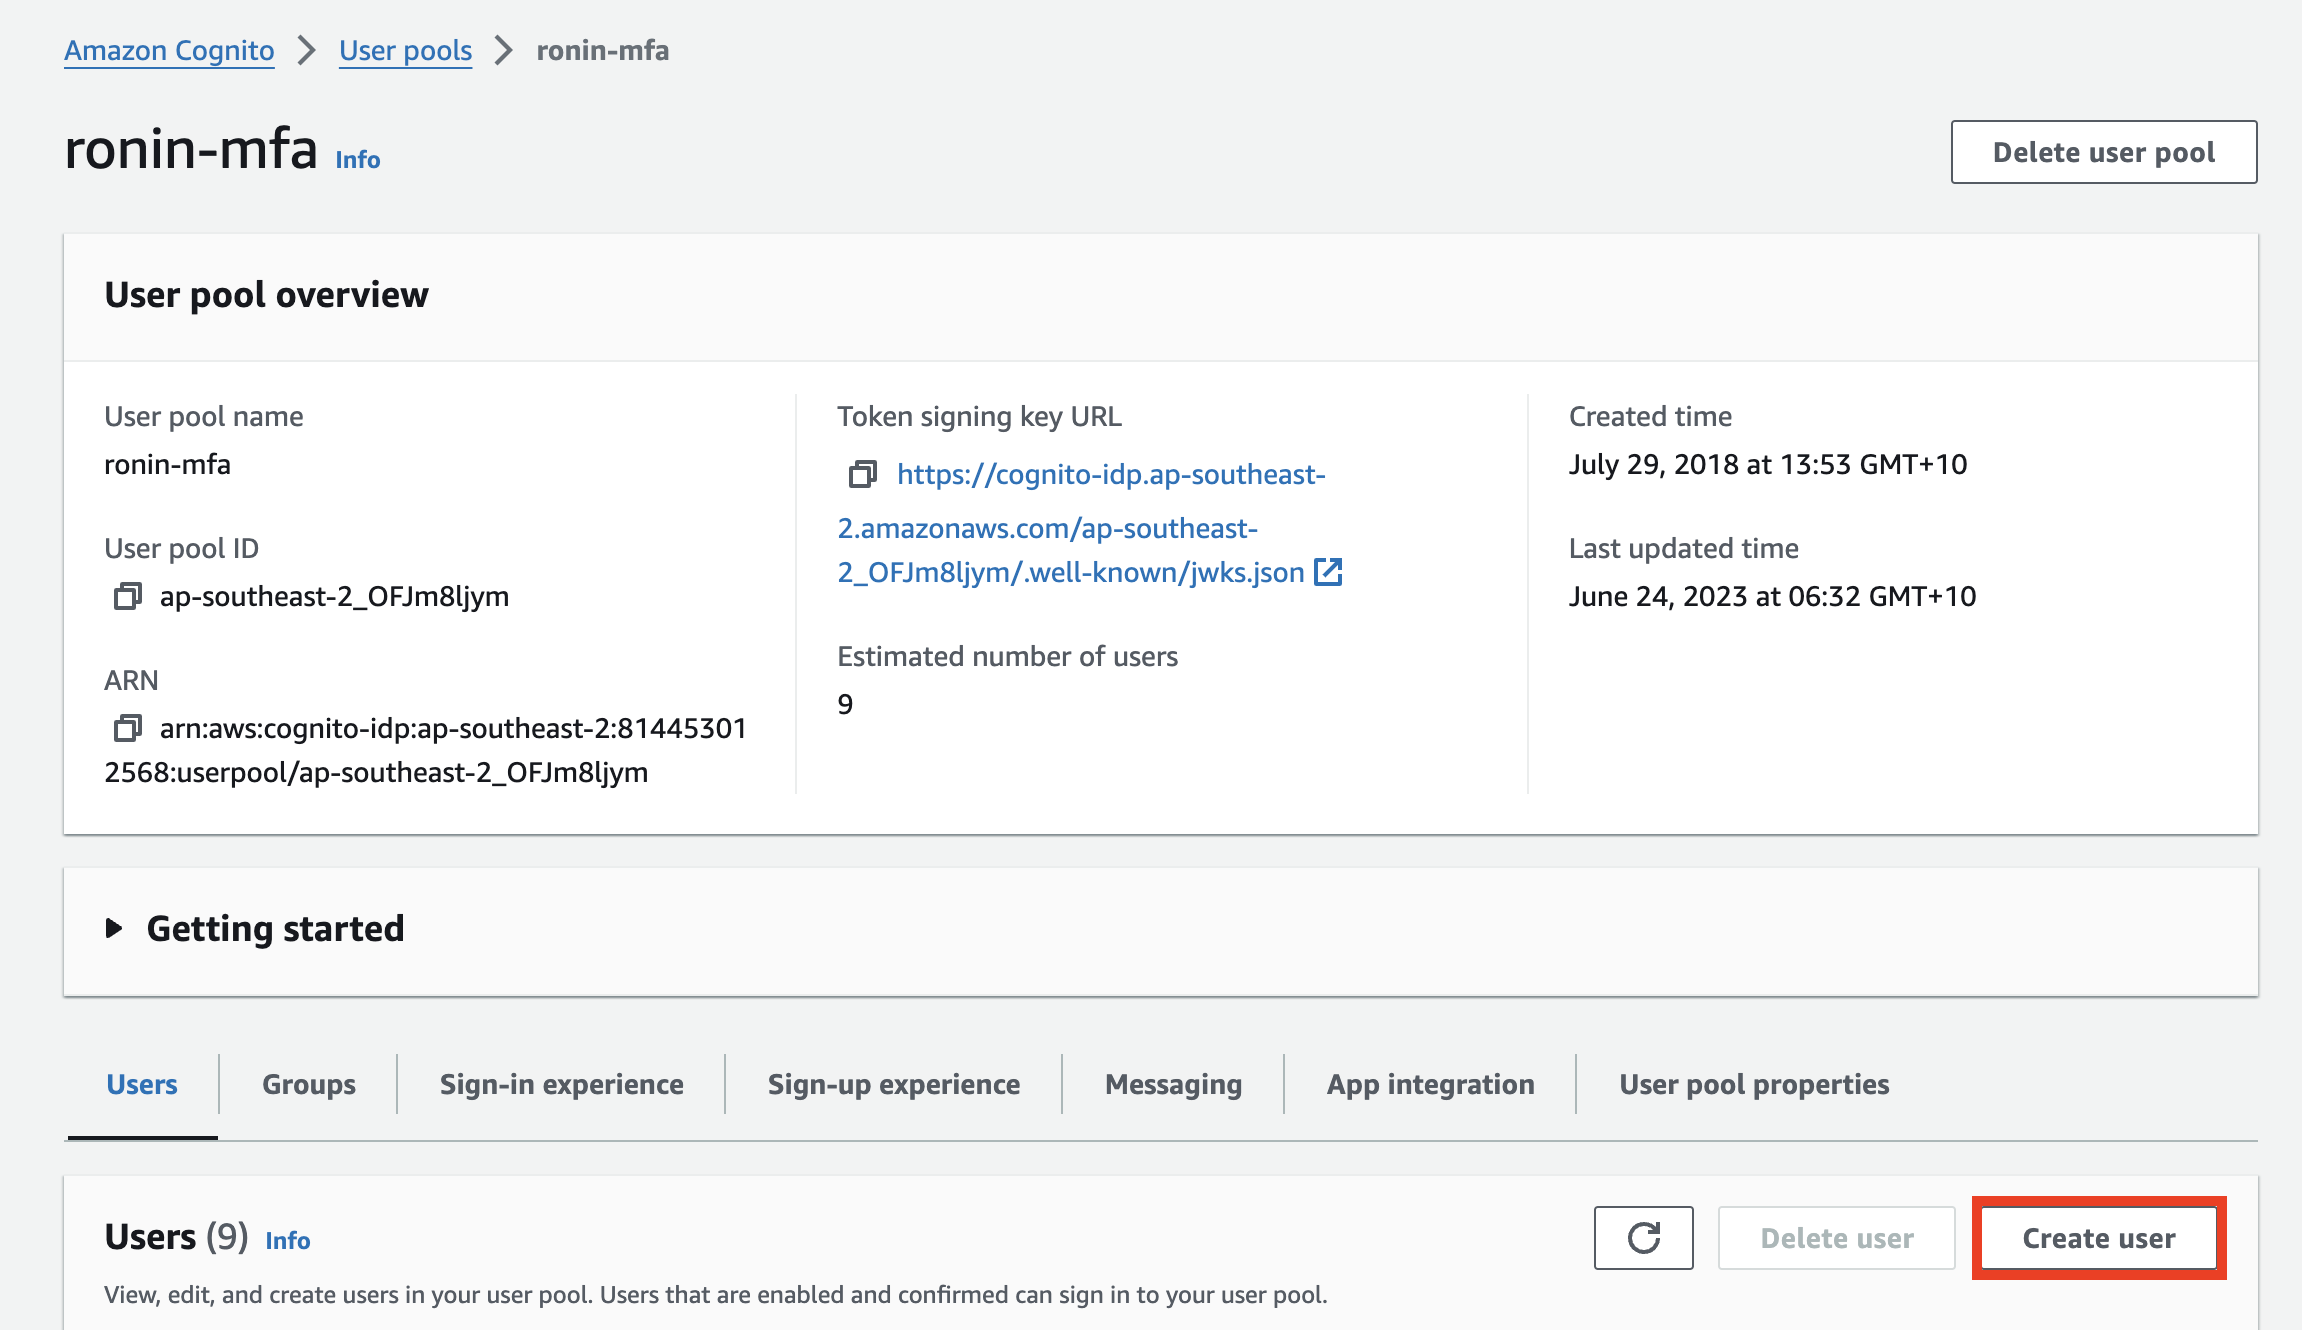
Step 2 - Select your User Pool
Click on the user pool that ends in "-mfa".

Step 3 - Click "Create User"

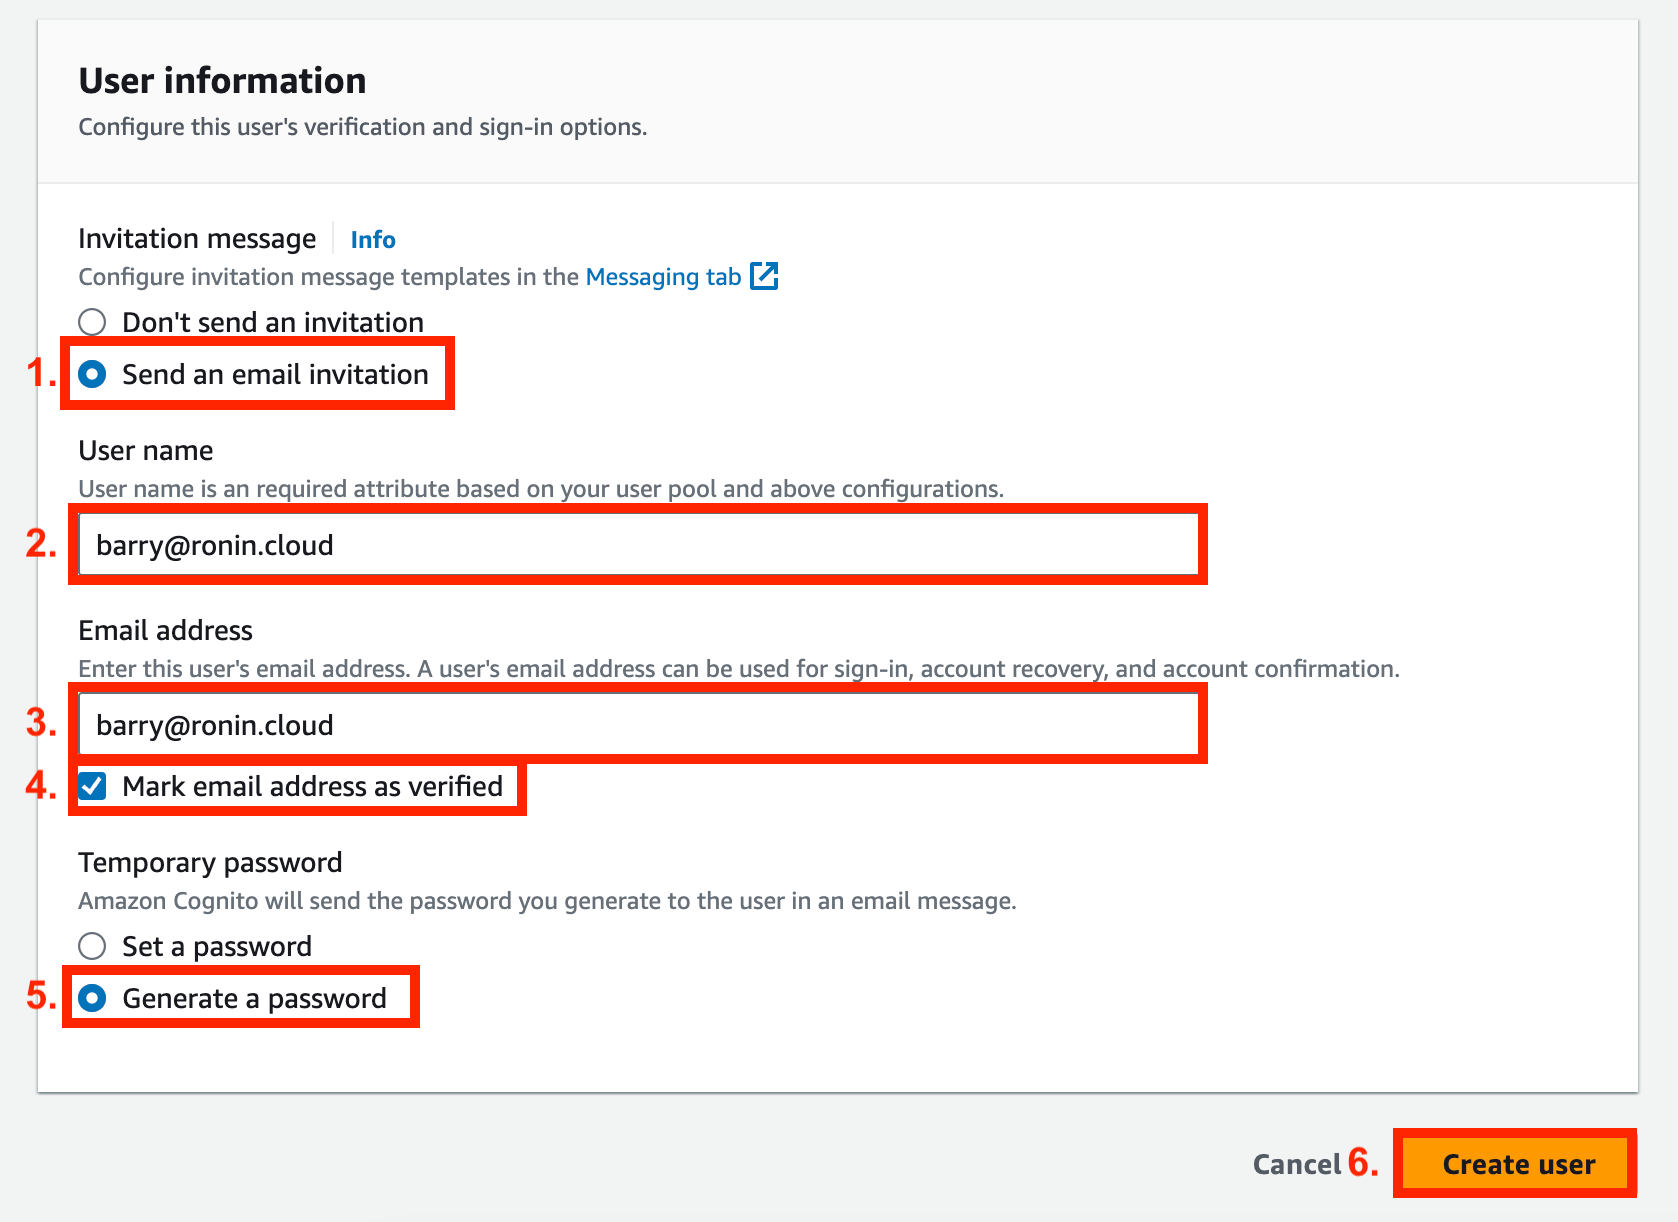
Fill in the form with the following information:
- Ensure "Send an email notification" is checked
- Set a username, we recommend this be the user's email address
- Enter the users email address
- Check "Mark email address is verified"
- Ensure "Generate a password" is checked
- Click "Create user"

Step 4 - Make the user an administrator (optional).
Select your new user from the list of users by clicking on the username
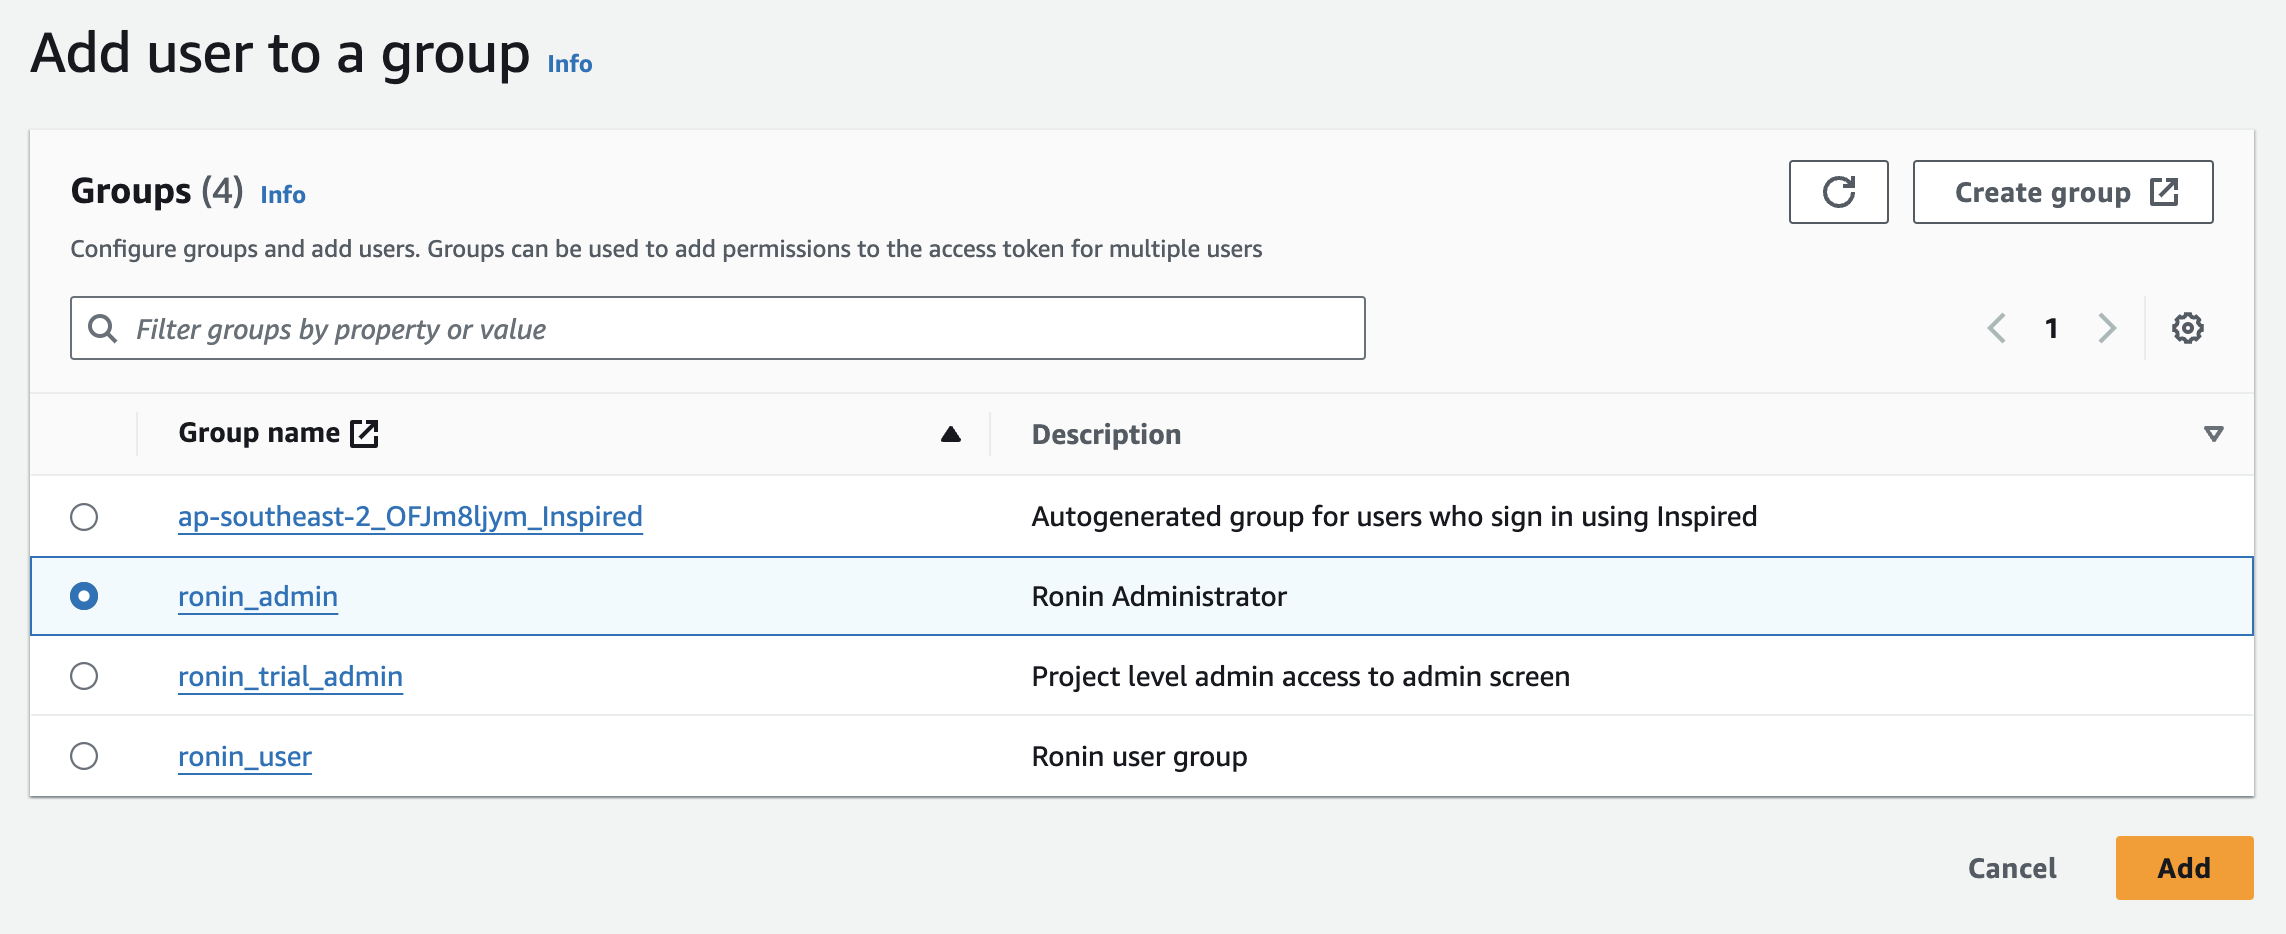
Scroll down to the "Group memberships" section and click "Add to group"

Add the user to the required admin group - see this blog post for more information.

Note: Users automatically assume "ronin_user" permissions, so there is no need to add them to the ronin_user group. You can remove a user's Admin access at any time by removing them from an admin group.
Step 5 - Add your new user to a RONIN project
Now Barry has access to RONIN we need to assign him to a project. For help with that go read this awesome blog.
Adding users to a project

